تتضمن النقاط الرئيسية لعملية الربط للأسطح الصلبة الأكريليك بشكل أساسي الجوانب التالية:
أولاً ، الاستعدادات قبل الربط
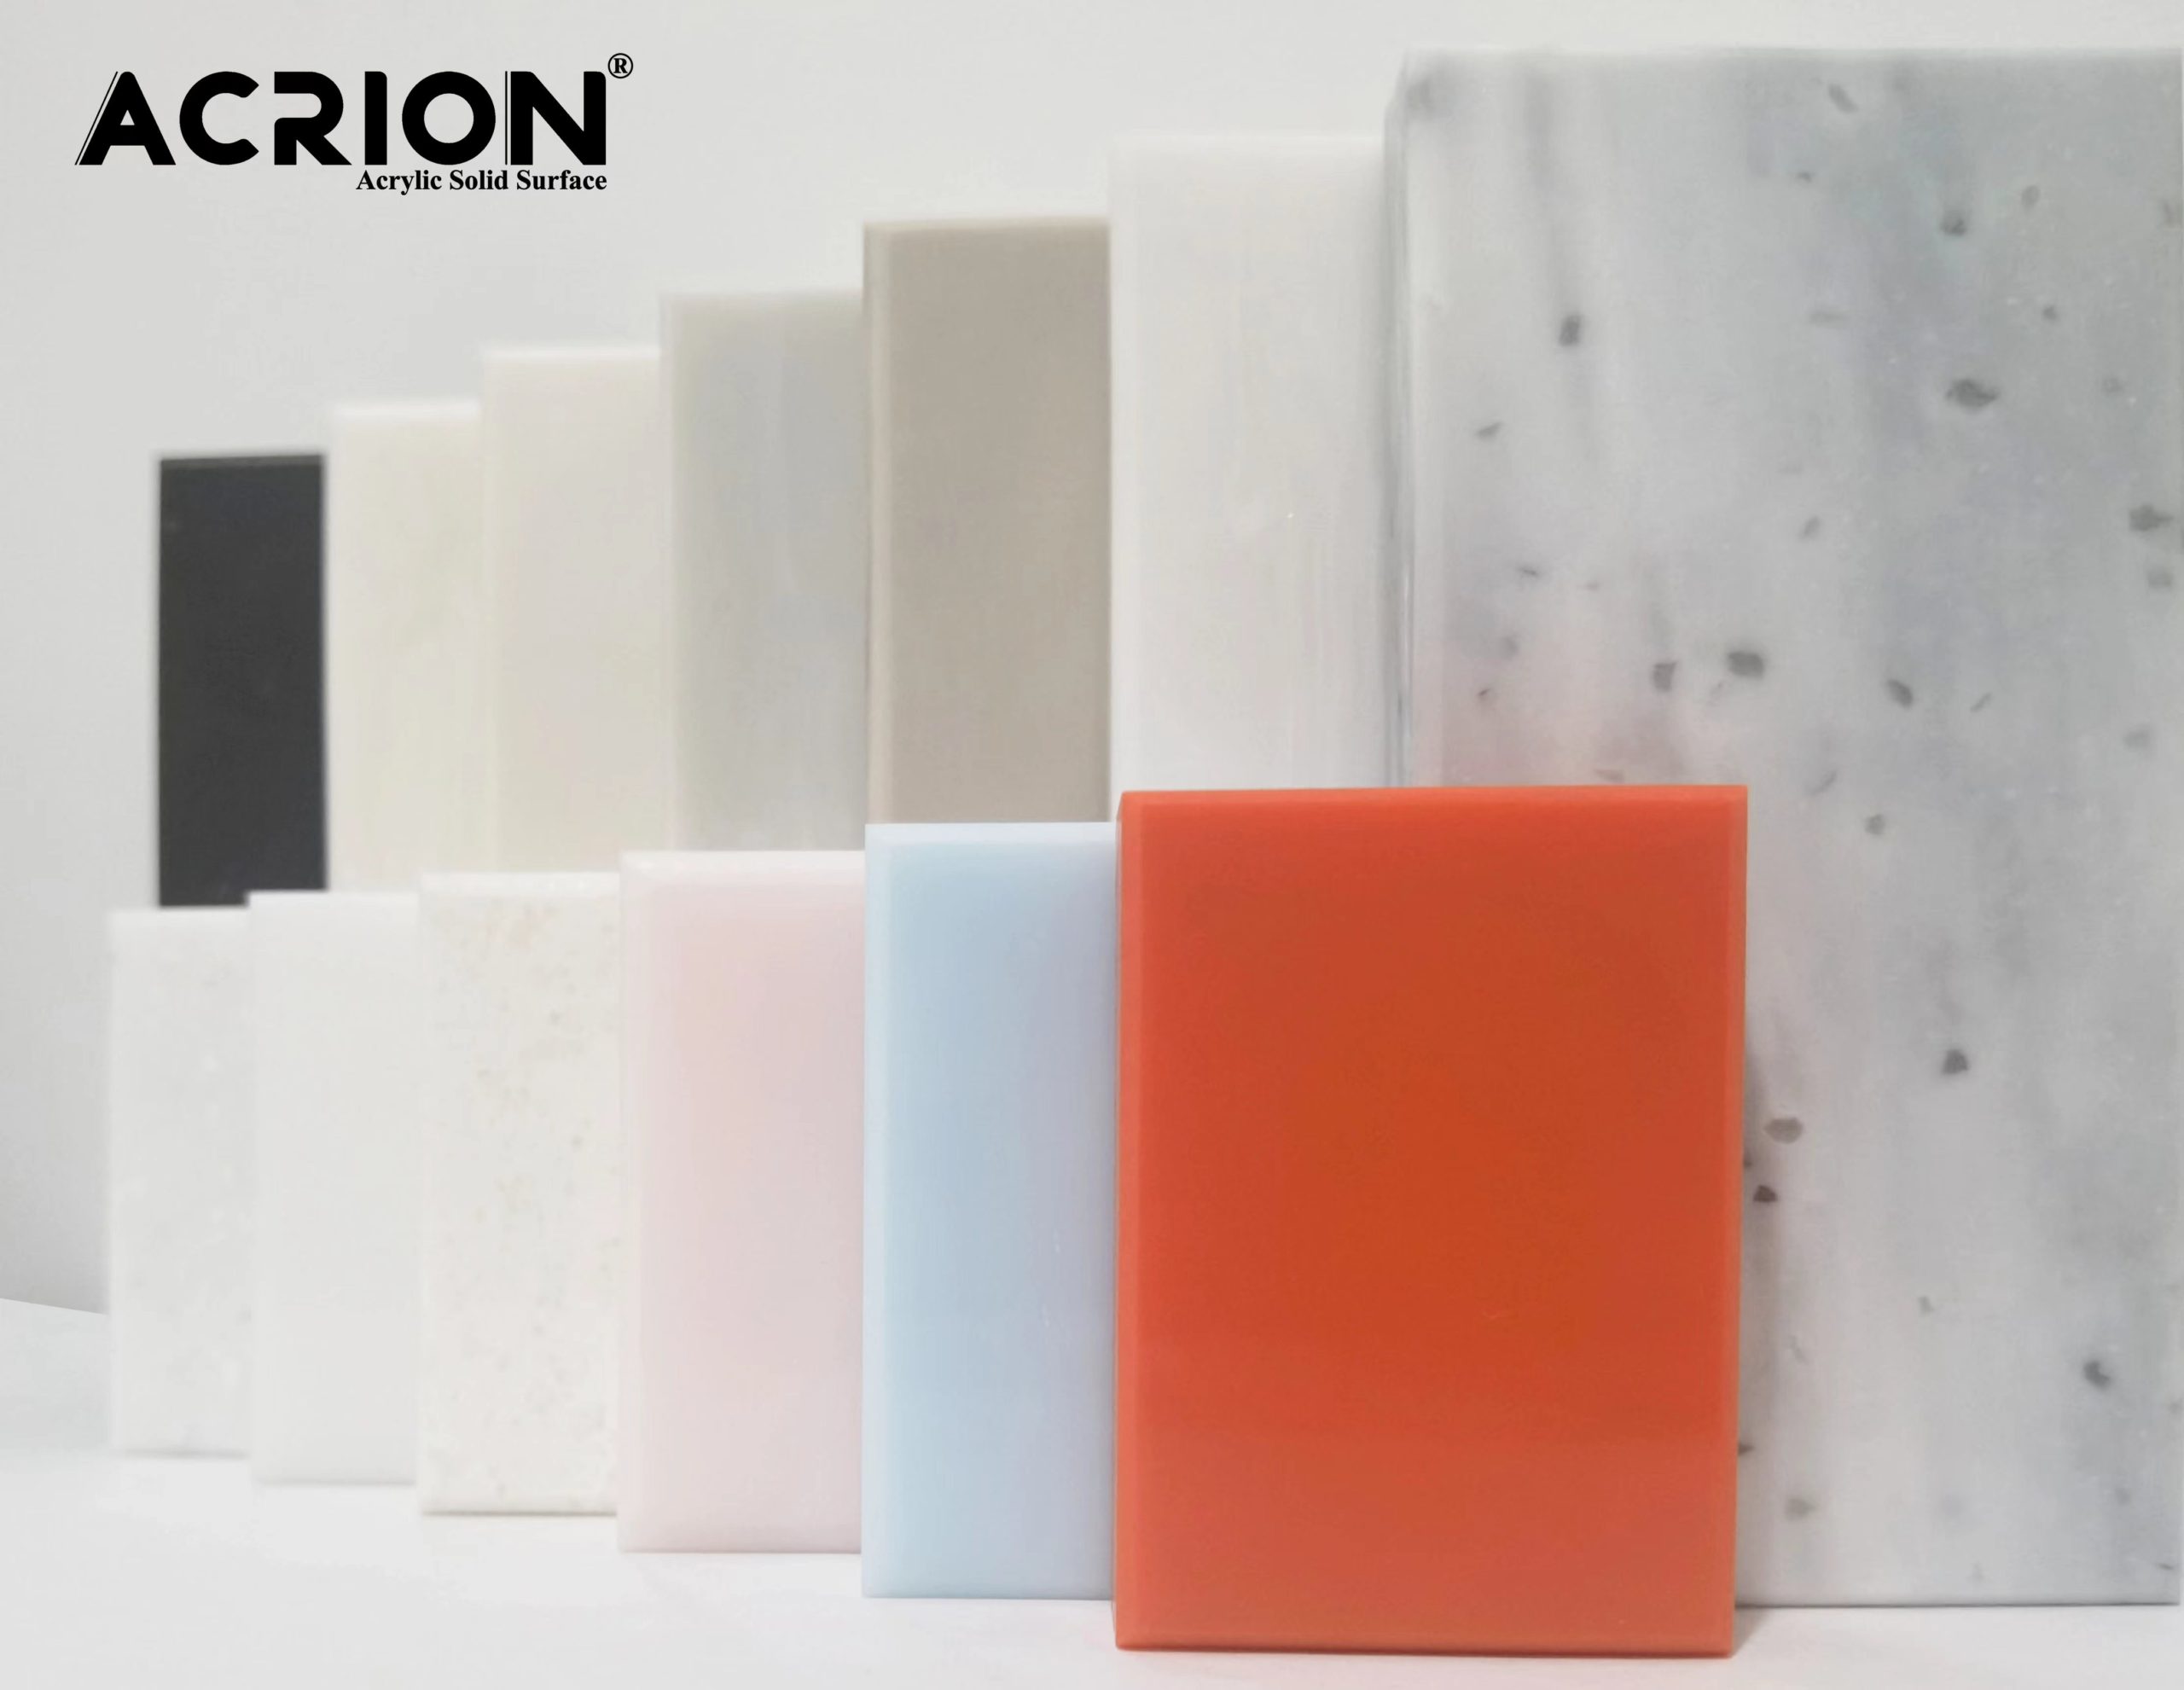
اختيار المواد والتفتيش
حدد نفس أو مواد صلبة أكريليك متوافقة لضمان أن تكون خصائصها الفيزيائية والخصائص الكيميائية متشابهة ، وتجنب تأثيرات الربط السيئة بسبب الاختلافات المادية.
تحقق مما إذا كان سطح المادة سلسًا وخاليًا من الخدوش والشقوق والفقاعات والعيوب الأخرى لضمان جودة سطح الربط.
إعداد الأداة والمعدات
قم بإعداد أدوات الربط الضرورية ، مثل أدوات القطع (سكاكين المرافق ، المناشير ، وما إلى ذلك) ، أدوات الطحن (ورق الصنفرة ، آلات الطحن ، إلخ) ، أدوات التنظيف (الكحول ، مسحات القطن ، إلخ) وربط المواد المساعدة (مثل المواد اللاصقة ، الأشرطة ، إلخ).
ضمان بيئة عمل نظيفة ومرتبة لمنع الغبار والحطام من تلويث سطح الربط.
ثانياً ، علاج السطح المقسم
قطع وطحن
وفقًا لمتطلبات التصميم ، يتم قطع المواد الصلبة الأكريليك إلى الشكل والحجم المطلوب باستخدام أدوات القطع.
استخدم أدوات الطحن لطحن السطح المقترح ، وإزالة الأوساخ ، والخدوش والأجزاء غير المتكافئة ، وجعل السطح المقسم ناعمًا ومسطحًا.
التنظيف والتجفيف
قم بتنظيف السطح المقسم بالكحول أو منظف خاص لإزالة بقع الزيت والغبار والشوائب.
تأكد من أن السطح المقسم جاف تمامًا لتجنب فشل المادة اللاصقة بسبب الرطوبة المتبقية.
ثالثًا ، اختيار طرق الربط
الربط اللاصقة
اختر المواد اللاصقة المناسبة للمواد الأكريليك ، مثل المواد اللاصقة الخاصة بالأكريليك ، والمواد اللاصقة راتنج الايبوكسي ، إلخ.
قم بتطبيق المادة اللاصقة بالتساوي على السطح المقسم وفقًا للتعليمات الخاصة بالاستخدام.
قم بمحاذاة قطعتين من مادة الأكريليك مع وضع المفصل ، واضغط برفق لضمان الاتصالات والعلاجات اللاصقة بالكامل.
الربط الساخن ذوبان
بالنسبة للمواد الأكريلية السميكة ، يمكن اعتماد طريقة الربط الساخن. سخني السطح المقترح بمسدس هواء ساخن أو صفيحة ساخنة لتليينه.
انضم إلى الأسطح المقسمة المخففة معًا وتطبيق الضغط المناسب لجعلها تتناسب بشكل وثيق.
بعد أن يبرد سطح الربط ويصلب ، يمكن تشكيل الربط الثابت.
رابعًا ، بعد المعالجة بعد الربط
التثبيت والدعم
خلال فترة المعالجة من المادة اللاصقة ، استخدم الشريط أو التركيبات لإصلاح الأجزاء المقسمة لمنعها من الحركة أو تشوه.
وفقًا لسمك وحجم مواد الربط ، حدد طريقة الدعم المناسبة لضمان استقرارها.
التفتيش والتصحيح
بعد أن تم علاج المادة اللاصقة بالكامل ، تحقق مما إذا كانت منطقة الربط مسطحة وخالية من الفقاعات والشقوق وغيرها من العيوب.
إذا تم العثور على أي عيوب ، فيجب إصلاحها في الوقت المناسب ، مثل الطحن والملء.
الخامس ، الاحتياطات
تجنب تركيز الإجهاد
أثناء عملية الربط ، يجب تجنب تركيز الإجهاد قدر الإمكان في منطقة الربط لمنع تكسير أو تشوه منطقة الربط.
يمكن تفريق الإجهاد بطرق مثل علاج فيليه وعلاج الشطورة.
التحكم في درجة الحرارة والرطوبة
أثناء عملية الربط ، يجب التحكم في درجة حرارة ورطوبة بيئة العمل لتجنب الآثار الضارة لدرجات الحرارة المرتفعة أو المنخفضة بشكل مفرط والرطوبة على أداء المادة اللاصقة.
انتبه لعملية آمنة
عند استخدام أدوات القطع ، أدوات الطحن ومدافع الهواء الساخن والمعدات الأخرى ، انتبه إلى التشغيل الآمن لتجنب الحوادث.