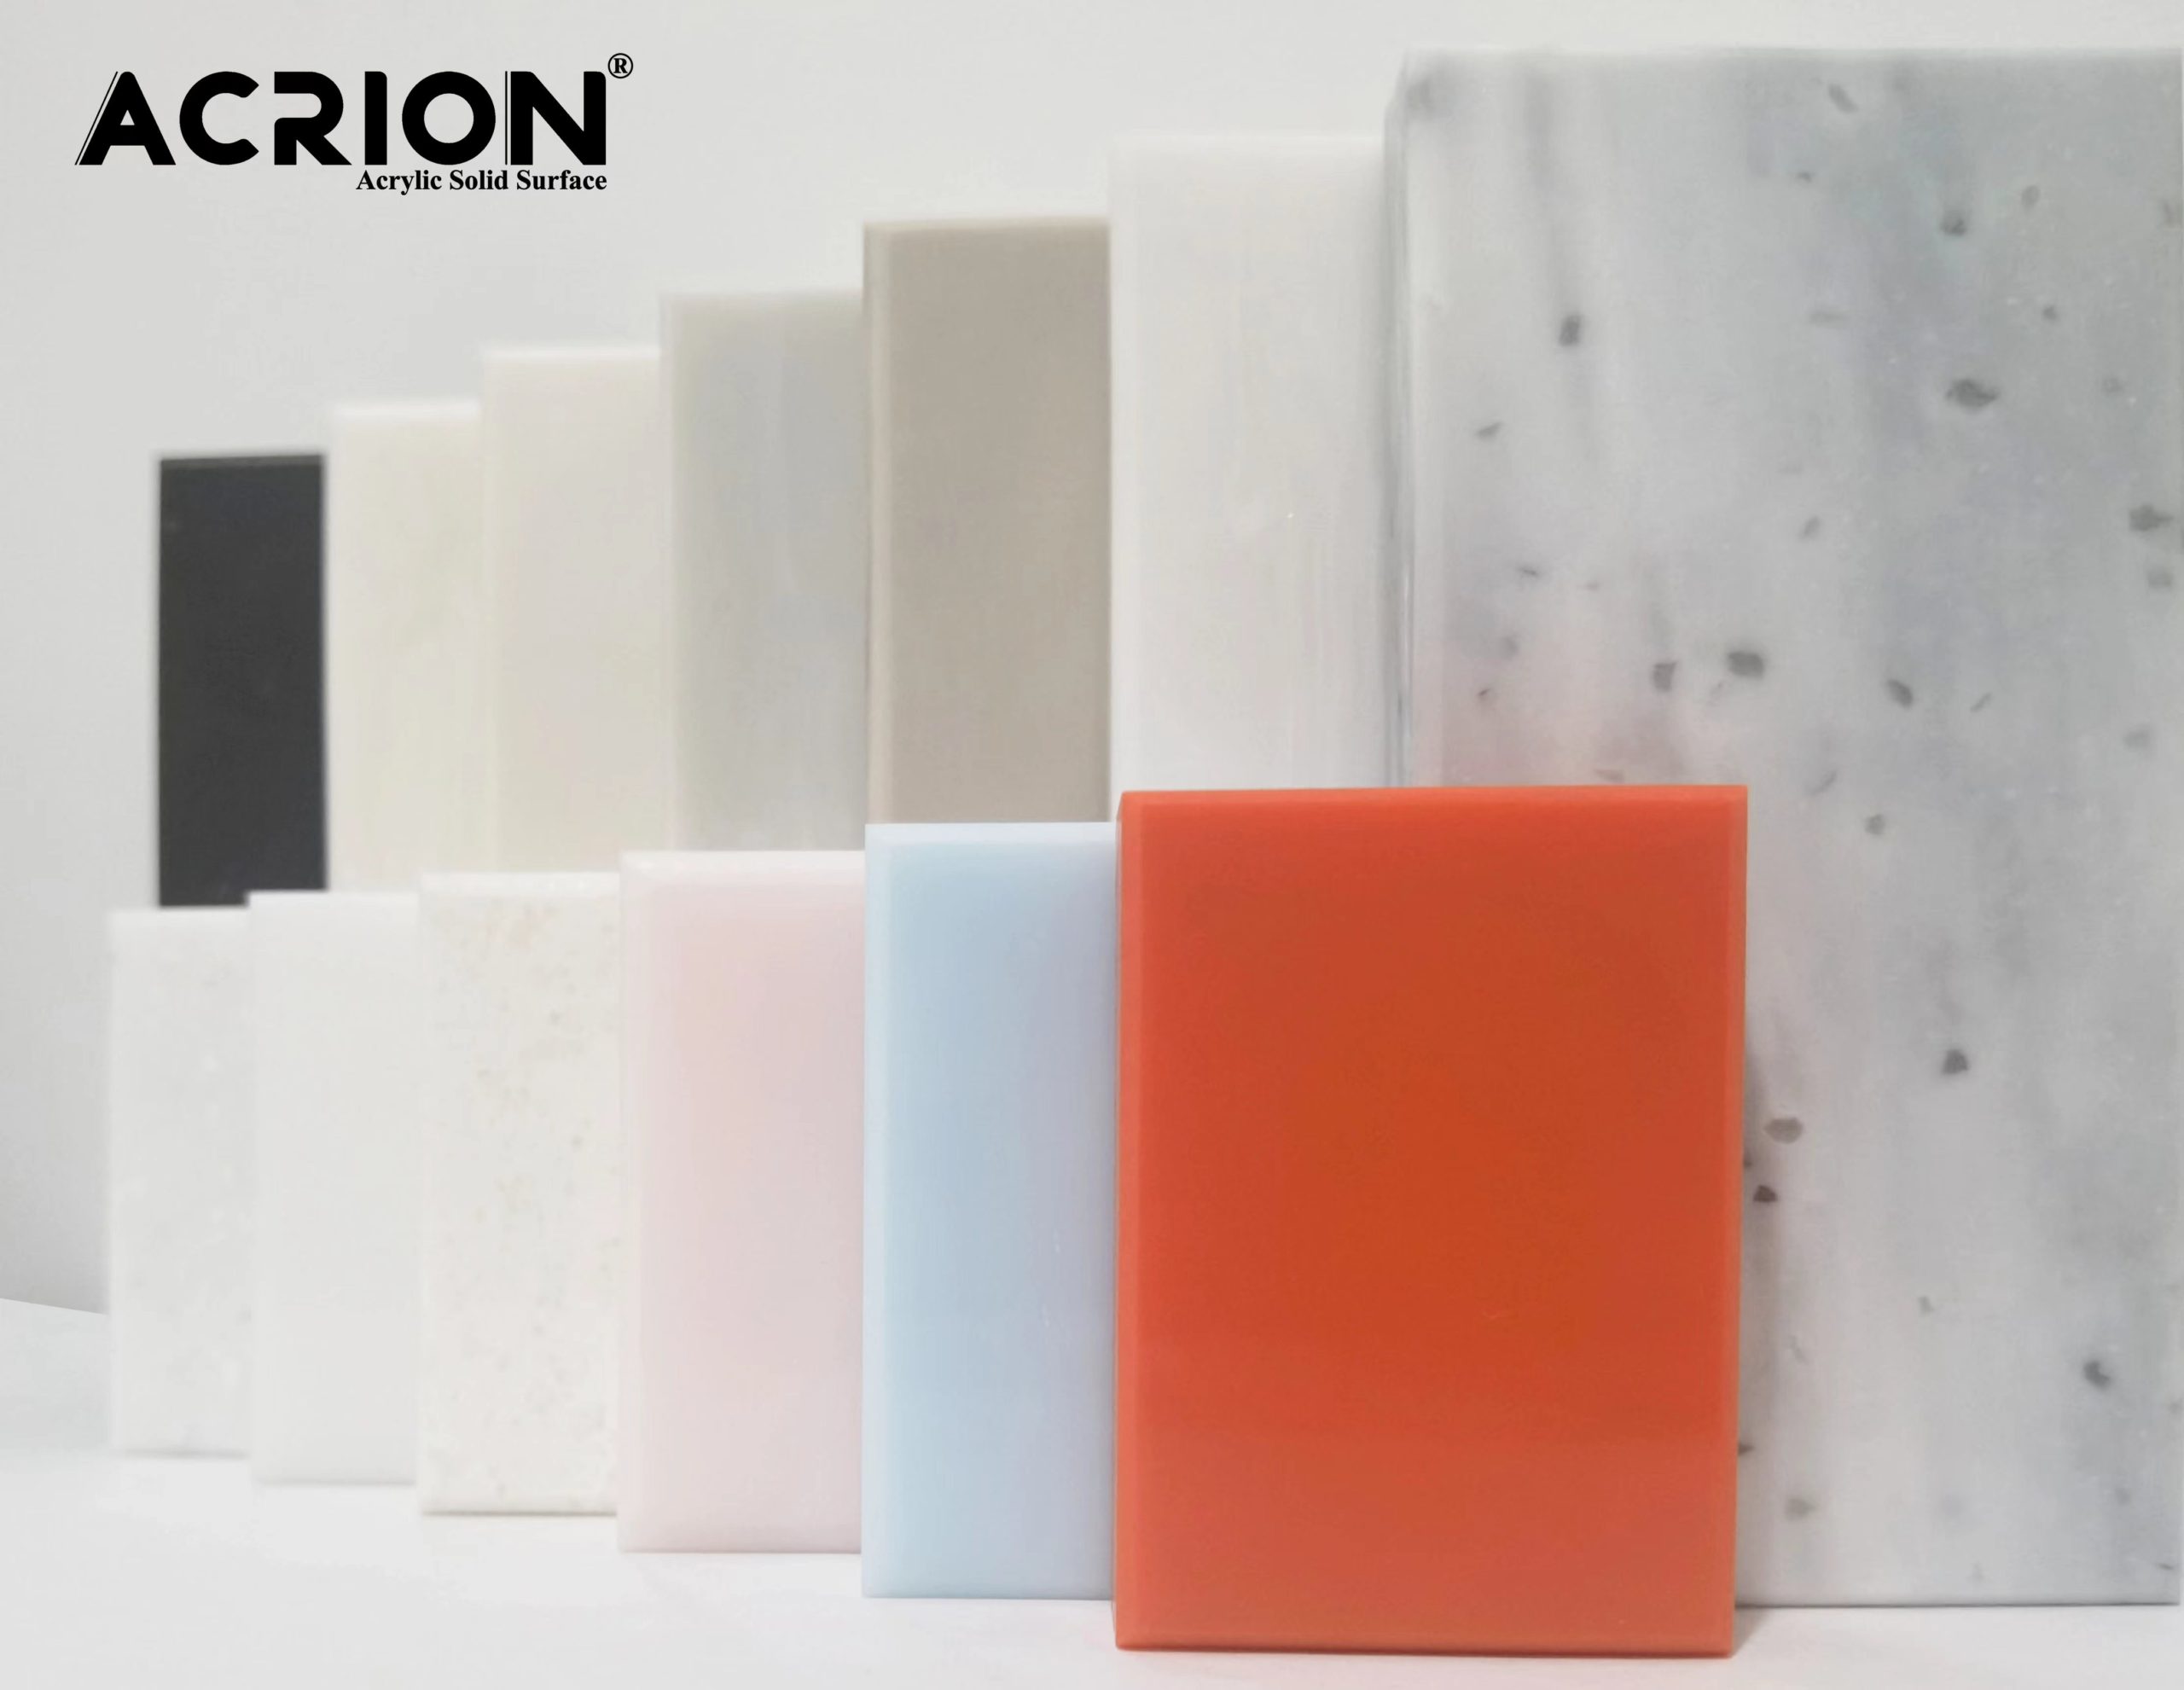
Die Installation von Acrion-Arbeitsplatten muss standardisierten Verfahren folgen. Im Folgenden sind die spezifischen Schritte und Vorsichtsmaßnahmen aufgeführt:
Erstens vorläufige Vorbereitung und Messung
Überprüfung der räumlichen Dimensionen
Messen Sie die Länge, Breite und Höhe des Installationsbereichs genau, wobei die Vertikalität der Wand und die Flachheit des Bodens besonders beachtet werden. Wenn die Wand geneigt ist, muss sie im Voraus geebnet werden, um Lücken oder eine ungleiche Kraftverteilung auf der Arbeitsplatte nach der Installation zu vermeiden.
Bestätigen Sie die Positionen der Wasser- und Stromleitungen, um sicherzustellen, dass die Schnittstellen der Spüle, des Wasserhahns, der Abflussrohre usw. genau den Öffnungen auf der Arbeitsplatte entsprechen. Der Fehler sollte innerhalb von ± 2 mm gesteuert werden.
Kalibrierung der Arbeitsplattengröße
Überprüfen Sie die Arbeitsplattenabmessungen basierend auf den Messdaten, wobei besondere Aufmerksamkeit auf wichtige Öffnungspositionen wie das Beckenloch und das Ofenloch geschenkt wird. Wenn das Entwurf des Unterbeckens übernommen wird, muss die Arbeitsplatte im Voraus verarbeitet und ein Installationsschlitz reserviert werden.
Zweitens die Installation und Fixierung der Arbeitsplatte
Konstruktion der Stützstruktur
Legen Sie die Anti-Vibrations-Silikonstreifen oder Gummi-Pads auf der Oberseite des Schranks, um die Reibung und Vibration zwischen der Arbeitsplatte und dem Schrank zu verringern. Für lange Arbeitsplatten (z.
Hebung und Positionierung von Arbeitsplatten
Mindestens zwei Personen sollten zusammenarbeiten, um die Arbeitsplatte stetig auf den Kabinett zu legen, um sicherzustellen, dass der Rand der Arbeitsplatte mit dem Rand des Kabinetts übereinstimmt. Verwenden Sie eine Laserebene, um die Ebene der Arbeitsplatte zu überprüfen, und der Fehler sollte weniger als 1 mm/m betragen.
Fixierung und Randverarbeitung
Wenden Sie den speziellen Klebstoff (wie Polyurethankleber) gleichmäßig auf die Kontaktfläche zwischen der Arbeitsplatte und dem Schrankkörper auf. Führen Sie es nach dem Einfügen 24 Stunden mit einer Leuchte. Die Verbindung zwischen der Arbeitsplatte und der Wand sollte mit Anti-Form-Dichtmittel gefüllt werden. Die Breite der Dichtmittelverbindung sollte bei 3-5 mm gesteuert werden, um die Dichtungsleistung zu gewährleisten.
Drittens die Installation des Waschbeckens und des Zubehörs
Installation des Unterbeckens
Setzen Sie das Unterbecken in den reservierten Schlitz ein und fixieren Sie ihn mit einer Metallhalterung oder speziellen Clips. Die Halterung muss fest mit der Schrankstruktur verbunden sein, um die tragende Kapazität des Waschbeckens zu gewährleisten.
Installation von Wasserhähne und Entwässerungskomponenten
Installieren Sie den Wasserhahn gemäß den Entwurfszeichnungen und stellen Sie sicher, dass an den Schnittstellen der kalten und heißen Wasserrohre keine Leckagen vorliegen. Das Entwässerungsrohr sollte ein S-förmiger Trap-Design annehmen, um den Rückfluss unangenehmer Gerüche zu verhindern.
Randverschluss und Verstärkung
Die Verbindung zwischen der Kante des Waschbeckens und der Arbeitsplatte sollte mit transparentem Silikon gefüllt werden, und die Verbindung sollte ohne Blasen glatt sein. Für Bereiche mit konzentrierter Kraft wie den vier Ecken des Waschlasins sollten Glasfaser -Stoff- oder Metall -Eck -Codes zur Verstärkung verwendet werden.
Viertens Akzeptanz und Inbetriebnahme
Visuelle Inspektion
Überprüfen Sie die Oberfläche der Arbeitsplatte auf Kratzer, Beulen oder Farbunterschiede und stellen Sie sicher, dass die Spleißteile keine Lücken haben. Die Verbindung zwischen der Kante des Waschbeckens und der Arbeitsplatte sollte glatt sein und die Breite der Klebstoffverbindung sollte gleichmäßig sein.
Funktionstest
Schalten Sie den Hahn ein, um die Entwässerungsgeschwindigkeit zu testen, und stellen Sie sicher, dass keine Blockierung oder Leckage vorhanden ist. Überprüfen Sie die tragende Kapazität der Arbeitsplatte. Legen Sie schwere Objekte (z. B. 50 kg Sandsäcken) kontinuierlich für 24 Stunden und beobachten Sie, ob die Arbeitsplatte oder Risse verformt.
Detailanpassung
Stellen Sie die Höhe und den Winkel des Wasserhahns ein, um sicherzustellen, dass das Wasser nicht ausspritzt. Für die Gestaltung des Arbeitsplatzbeckens muss prüfen, ob die Lücke zwischen der Arbeitsplatte und dem Becken einheitlich ist. Füllen Sie bei Bedarf die Lücke mit Dichtmittel.
Fünftens Vorschläge für die spätere Wartung
Tägliche Reinigung
Wischen Sie die Arbeitsplatte mit einem neutralen Reiniger und einem weichen Tuch ab. Vermeiden Sie die Verwendung von Stahlwolle oder sauren Reinigungsmitteln. Die Klebernähte an den Rändern des Wäsche müssen regelmäßig überprüft werden. Wenn ein Altern oder Abblättern gefunden wird, sollte der Kleber rechtzeitig aufgefüllt werden.
Regelmäßige Inspektion
Überprüfen Sie alle sechs Monate, ob die Stützstruktur der Arbeitsplatte locker ist und ob im Entwässerungsrohr eine Leckage vorliegt. Für lange Arbeitsplatten ist es notwendig, sich auf die Überprüfung der tragenden Kapazität des mittleren Unterstützungsbereichs zu konzentrieren.


