Os pontos -chave do processo de emenda para superfícies sólidas acrílicas incluem principalmente os seguintes aspectos:
Primeiro, preparativos antes de emenda
Seleção e inspeção de material
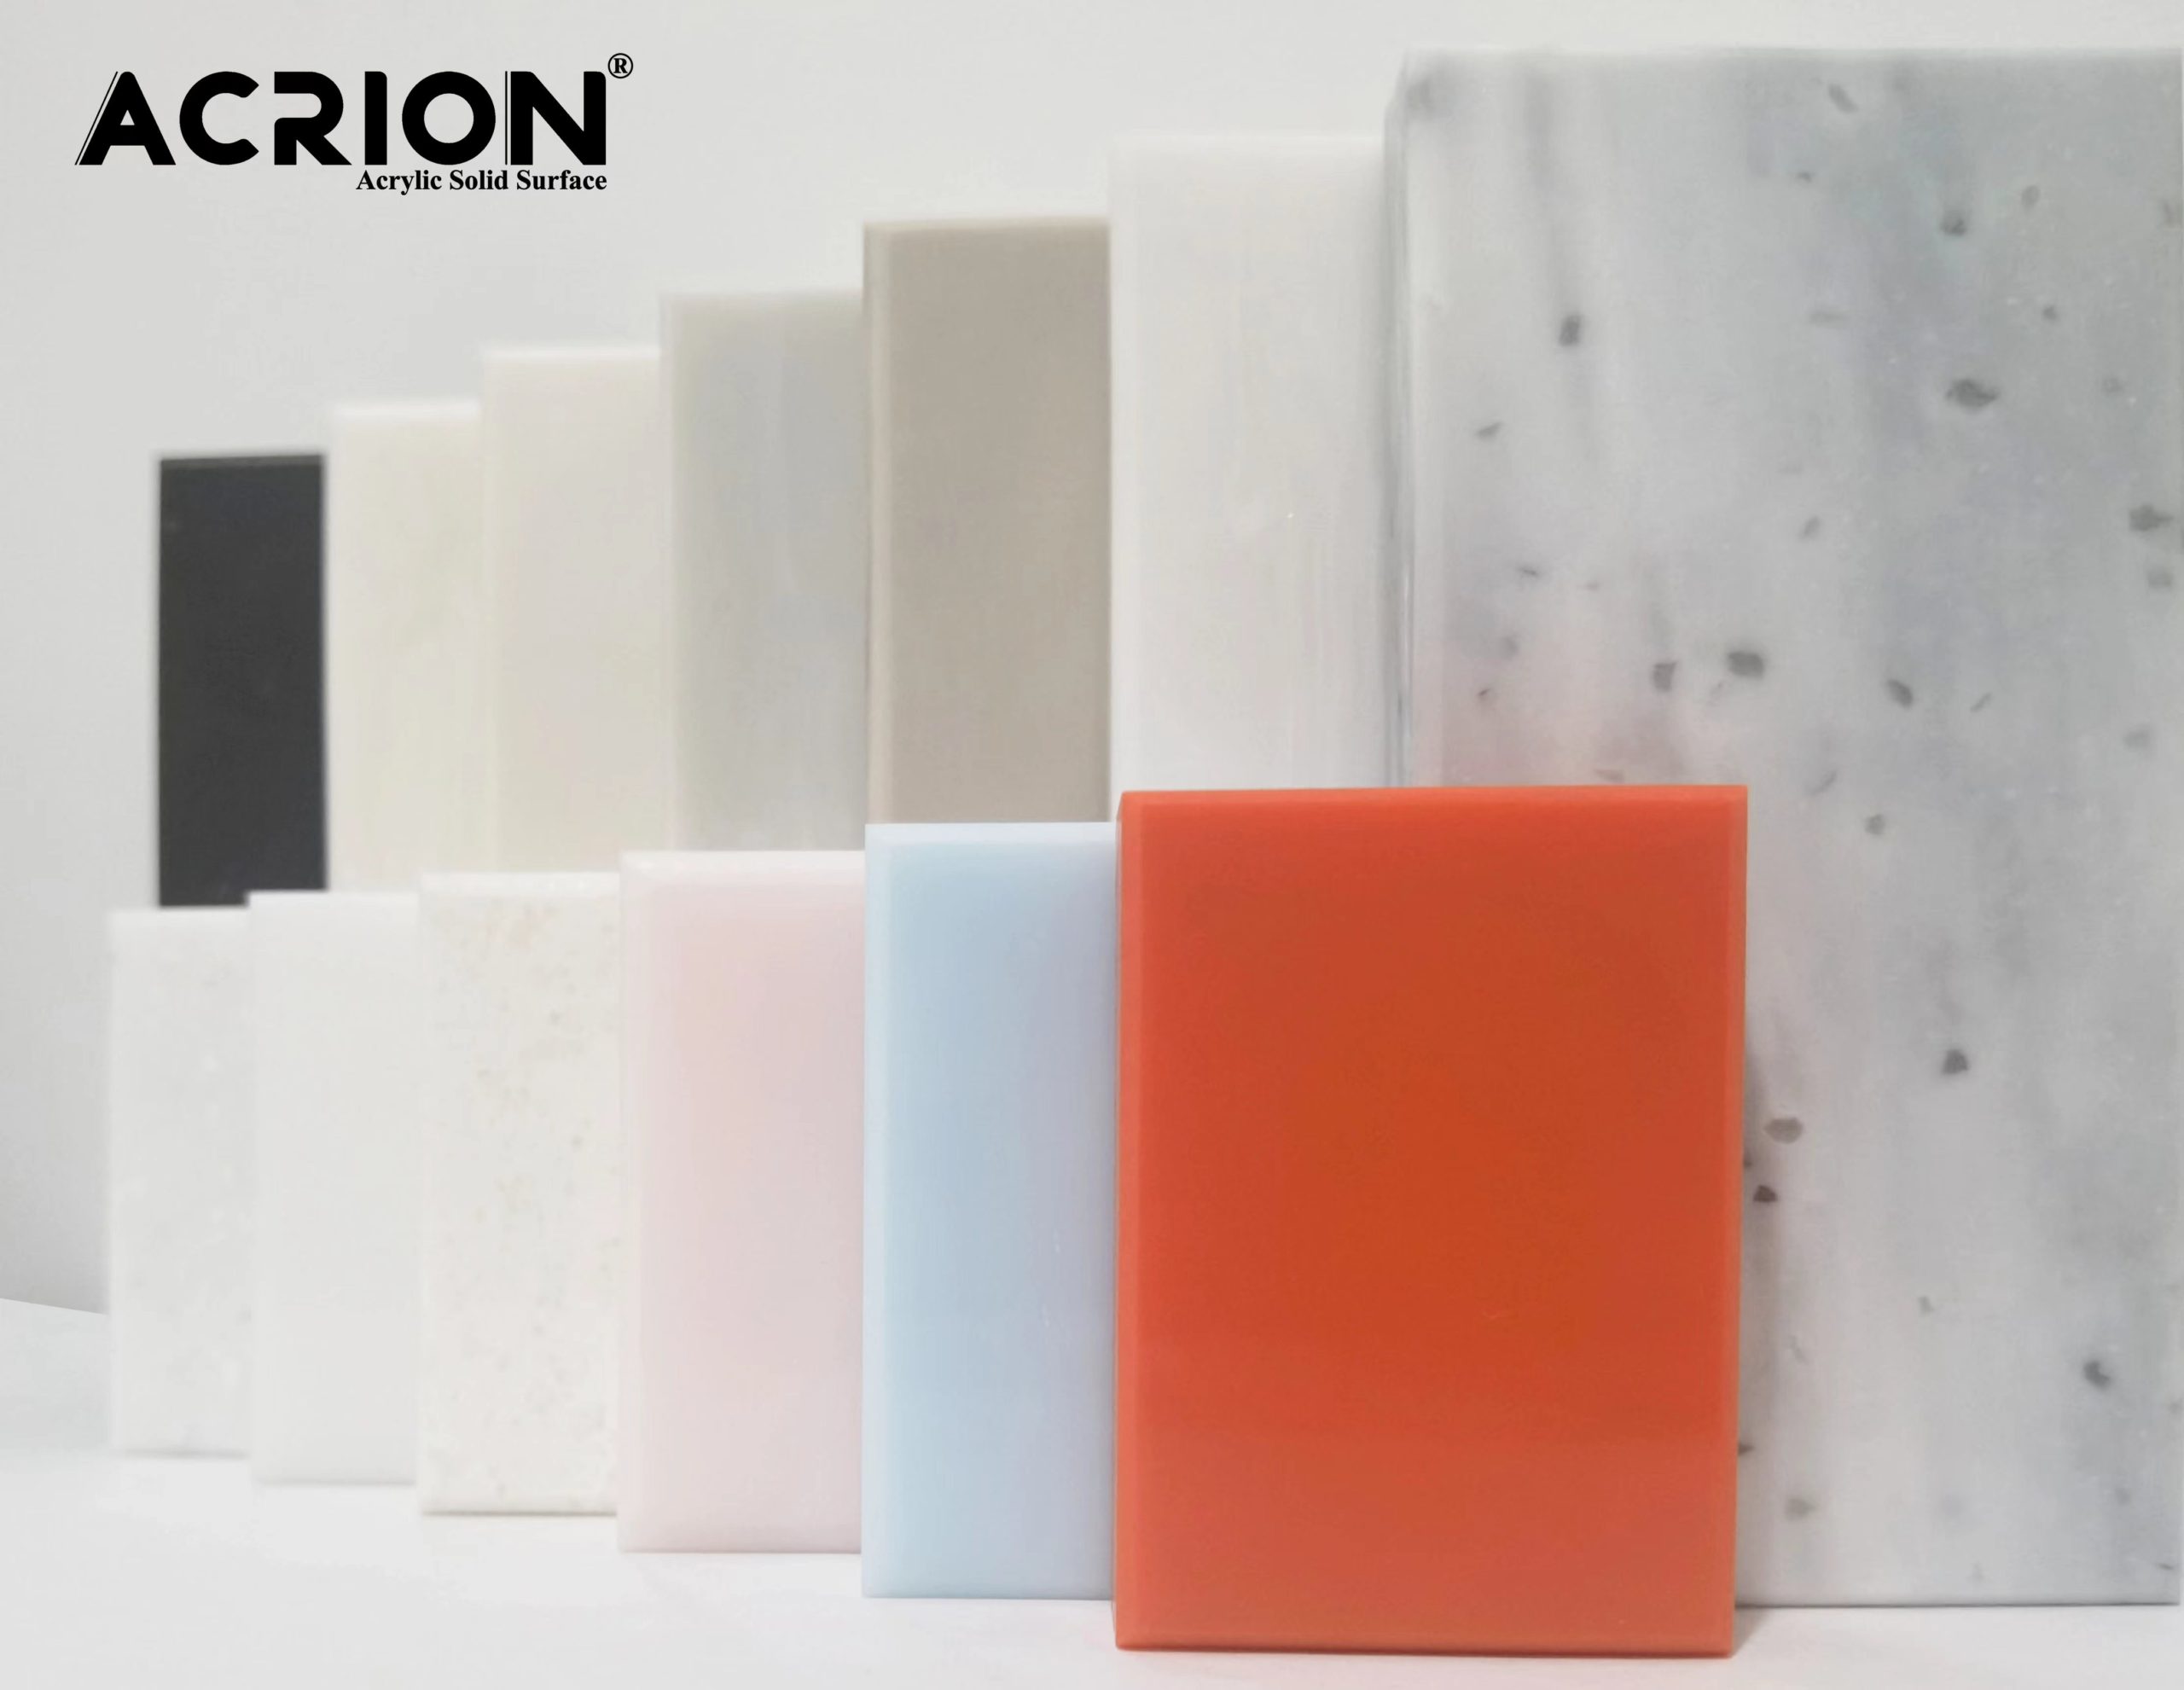
Selecione os mesmos materiais sólidos acrílicos compatíveis ou compatíveis para garantir que suas propriedades físicas e características químicas sejam semelhantes e evite efeitos de splicing ruins devido a diferenças de material.
Verifique se a superfície do material é lisa, livre de arranhões, rachaduras, bolhas e outros defeitos para garantir a qualidade da superfície de emenda.
Preparação de ferramentas e equipamentos
Prepare as ferramentas de emenda necessárias, como ferramentas de corte (facas de utilidade, serras, etc.), ferramentas de moagem (lixa, máquinas de moagem, etc.), ferramentas de limpeza (álcool, cotonetes, etc.) e materiais auxiliares de emenda (como adesivos, fitas etc.).
Certifique -se de um ambiente de trabalho limpo e arrumado para impedir que poeira e detritos contaminem a superfície de emenda.
Segundo, o tratamento da superfície emendada
Corte e moagem
De acordo com os requisitos de projeto, o material sólido acrílico é cortado na forma e tamanho necessários usando ferramentas de corte.
Use ferramentas de moagem para moer a superfície emendada, remover rebarbas, arranhões e peças irregulares e faça a superfície emendada lisa e plana.
Limpeza e secagem
Limpe a superfície emendada com álcool ou um limpador especial para remover manchas de óleo, poeira e impurezas.
Certifique -se de que a superfície emendada esteja completamente seca para evitar a falha do adesivo devido à umidade residual.
Terceiro, seleção de métodos de splicing
Splicing adesivo
Escolha adesivos adequados para materiais acrílicos, como adesivos específicos de acrílico, adesivos de resina epóxi, etc.
Aplique o adesivo uniformemente à superfície emendada de acordo com as instruções de uso.
Alinhe as duas peças de material acrílico com a posição articular, pressione delicadamente para garantir que o adesivo entre em contato e cura totalmente.
Splicing de fusão a quente
Para materiais acrílicos mais espessos, o método de emenda de fusão a quente pode ser adotada. Aqueça a superfície emendada com uma pistola de ar quente ou placa quente para amolecê -la.
Junte -se às superfícies emendadas amolecidas e aplique a pressão apropriada para torná -las de perto.
Depois que a superfície de emenda esfria e solidifica, uma emenda firme pode ser formada.
Quarto, após o processamento após a emenda
Fixação e suporte
Durante o período de cura do adesivo, use fita ou acessórios para fixar as peças emendadas para impedir que elas se movam ou se deformem.
De acordo com a espessura e o tamanho dos materiais de emenda, selecione o método de suporte apropriado para garantir sua estabilidade.
Inspeção e retificação
Depois que o adesivo está totalmente curado, verifique se a área de splicing está plana, livre de bolhas, rachaduras e outros defeitos.
Se forem encontrados algum defeitos, eles devem ser reparados a tempo, como moagem e recheio.
Quinta, precauções
Evite a concentração de estresse
Durante o processo de emenda, a concentração de estresse deve ser evitada o máximo possível na área de emenda para evitar rachaduras ou deformação da área de emenda.
O estresse pode ser disperso por métodos como tratamento de filete e tratamento de chanfro.
Controle a temperatura e a umidade
Durante o processo de emenda, a temperatura e a umidade do ambiente de trabalho devem ser controladas para evitar efeitos adversos de temperaturas excessivamente altas ou baixas e umidade no desempenho do adesivo.
Preste atenção à operação segura
Ao usar ferramentas de corte, ferramentas de moagem e armas de ar quente e outros equipamentos, preste atenção à operação segura para evitar acidentes.