Hướng dẫn từng bước để sửa chữa vết trầy xước trên mặt bàn Acrion
Mặt bàn ACRION nổi tiếng với vẻ ngoài liền mạch và độ bền của họ, nhưng ngay cả những người dùng cẩn thận nhất cũng có thể gặp phải các vết trầy xước bề mặt theo thời gian. Không giống như nhiều vật liệu khác, thành phần bề mặt rắn Acrion, cho phép sửa chữa tại nhà hiệu quả. Hướng dẫn này phác thảo các kỹ thuật cấp chuyên nghiệp để khôi phục lớp hoàn thiện mượt mà của bạn mà không cần thiết bị chuyên dụng.
Đánh giá độ sâu trầy xước và loại bề mặt
Xác định các dấu hiệu bề mặt nhỏ
Những vết trầy xước nông gây ra bởi các dụng cụ hoặc bọt biển mài mòn thường xuất hiện dưới dạng các đường trắng mờ. Những dấu hiệu này vẫn còn trên lớp bề mặt và không thâm nhập sâu. Kiểm tra bằng cách chạy móng tay của bạn trên vết xước nếu nó bắt được một chút nhưng không tạo thành một rãnh, thiệt hại là hời hợt và có thể sửa chữa với các công cụ cơ bản.
Đánh giá các gouges sâu hơn
Cào sâu hơn 0,5mm hoặc những người gây ra bởi các vật sắc nhọn như dao có thể tạo ra các rãnh có thể nhìn thấy. Đối với những trường hợp này, cần có một quá trình chà nhám nhiều bước. Kiểm tra xem vết xước có làm mờ đi khu vực xung quanh không, vì điều này cho thấy sự cần thiết phải đánh bóng tiến bộ sau khi chà nhám ban đầu.
Cân nhắc hoàn thiện bề mặt
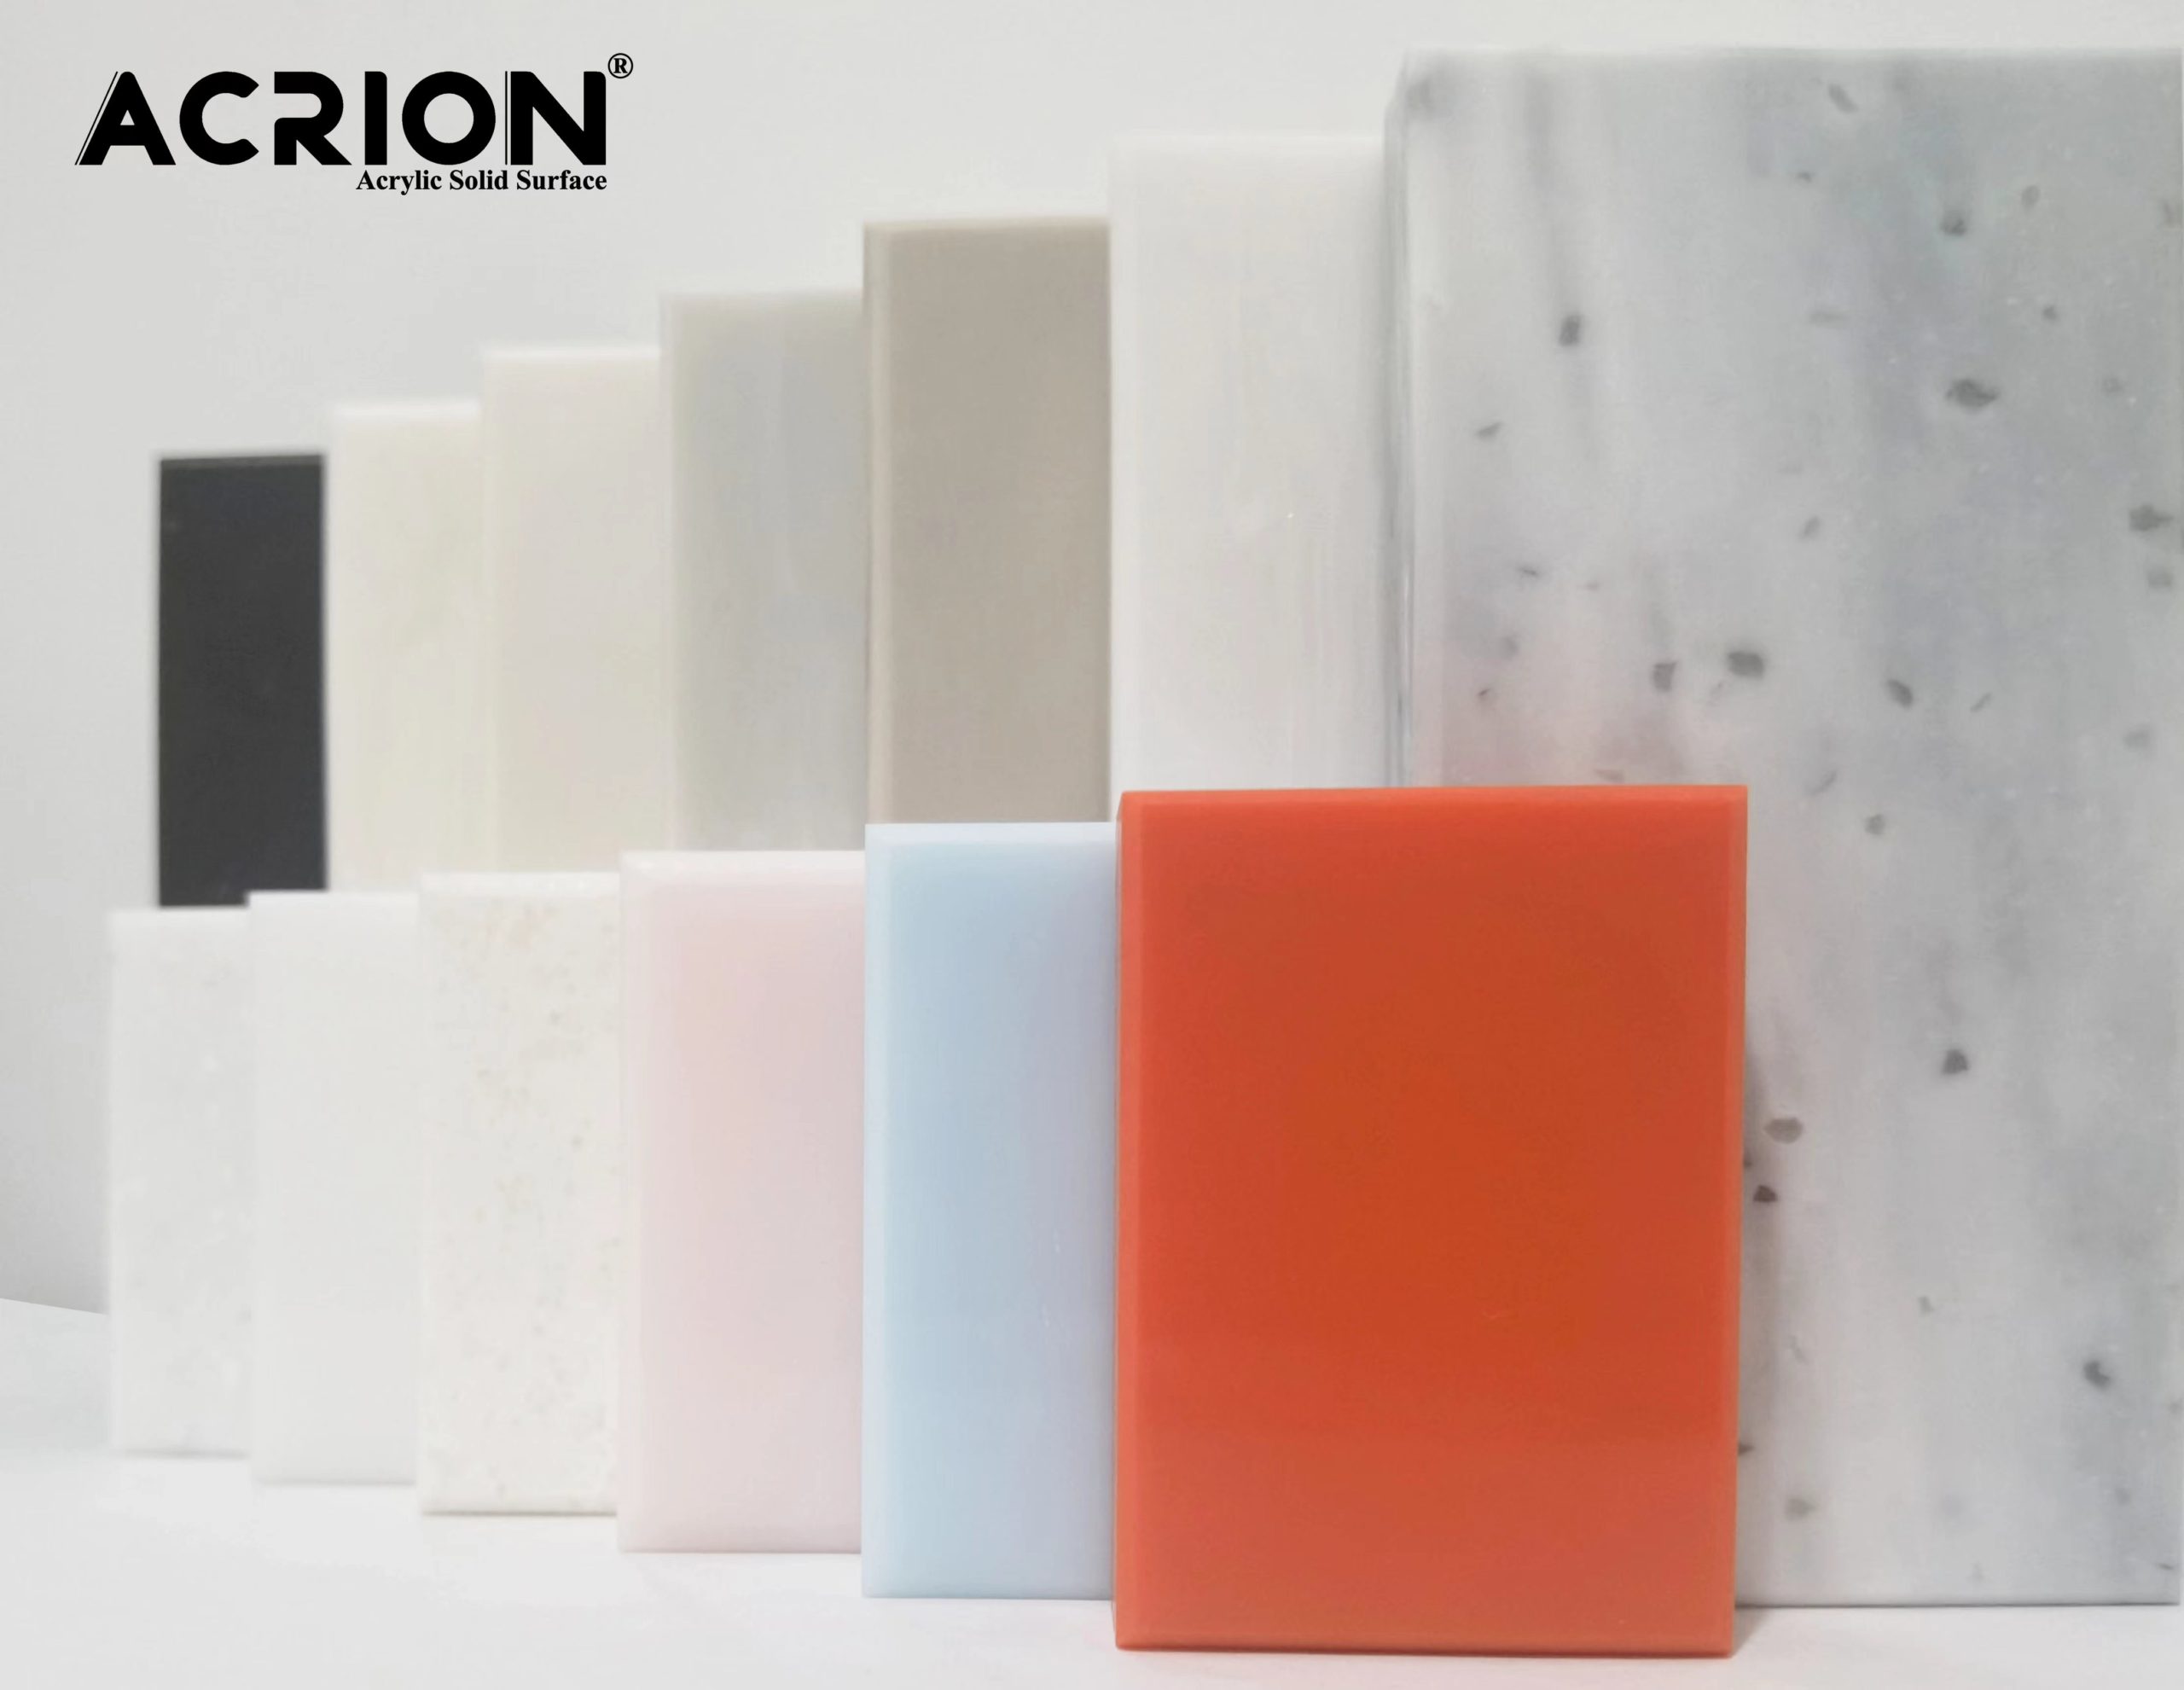
Mặt bàn Acrion có kết thúc mờ, bán mờ và đánh bóng. Bề mặt mờ đòi hỏi chà nhám ít tích cực hơn, trong khi các kết thúc được đánh bóng đòi hỏi phải đánh bóng cẩn thận để khôi phục độ bóng. Luôn phù hợp với các kỹ thuật sửa chữa với kết thúc ban đầu của bạn để duy trì tính nhất quán.
Kỹ thuật loại bỏ đầu cơ bản
Bước 1: Làm sạch bề mặt
Chuẩn bị khu vực bằng cách lau nó bằng một miếng vải microfiber ẩm để loại bỏ bụi và mảnh vụn. Đối với bụi bẩn cứng đầu, sử dụng dung dịch xà phòng nhẹ, sau đó rửa sạch và khô. Điều này đảm bảo không có hạt can thiệp vào quá trình chà nhám.
Bước 2: Th thể chà nhĩ ban đầu với grit thô
Đối với các vết trầy xước nhỏ, bắt đầu với giấy nhám ướt/khô 400 grit. Bọc giấy nhám xung quanh một khối chà nhám cao su cho áp lực chẵn. Làm ẩm bề mặt với nước và cát theo chuyển động tròn, mở rộng khu vực dần dần để pha trộn sửa chữa. Kiểm tra tiến độ thường xuyên, khi không còn nhìn thấy vết xước nữa.
Bước 3: Đánh bóng tiến bộ với các loại mịn hơn
Chuyển sang giấy nhám 600 grit để đánh bóng trung gian, lặp lại các chuyển động tròn. Theo dõi với giấy nhám 1200 grit để tinh chỉnh bề mặt. Mỗi thay đổi grit đòi hỏi phải rửa kỹ để loại bỏ dư lượng. Để hoàn thiện được đánh bóng, kết thúc với một hợp chất đánh bóng được áp dụng với một miếng vải mềm trong các vòng tròn nhỏ.
Phương pháp sửa chữa nâng cao cho các gouges sâu
Bước 1: lấp đầy khoảng trống
Để trầy xước sâu hơn 1mm, hãy sử dụng chất làm đầy epoxy hai phần phù hợp với màu bàn của bạn. Trộn các thành phần theo hướng dẫn và áp dụng với thìa nhựa, hơi lấp đầy rãnh. Hãy để nó chữa trong 24 giờ trong một khu vực thông thoáng.
Bước 2: Việc chà nhám nhiều giai đoạn
Bắt đầu chà nhám khu vực đầy bằng giấy nhám 220 grit để định hình chất độn với bề mặt. Tiến tới 400 grit, sau đó là 600 grit, duy trì một kỹ thuật chà nhám ướt để ngăn ngừa quá nóng. Luôn luôn cát ngoài khu vực đầy để đảm bảo pha trộn liền mạch.
Bước 3: Đánh bóng và niêm phong cuối cùng
Sau khi đạt được một kết thúc mịn, đánh bóng với một hợp chất cấp ô tô bằng cách sử dụng trình đánh bóng hành động kép ở tốc độ thấp. Đối với các bề mặt mờ, bỏ qua đánh bóng và buff nhẹ bằng vải microfiber. Mặc dù Acrion là không xốp, việc áp dụng chất bảo vệ dựa trên silicon có thể tăng cường độ bóng và đẩy lùi các điểm nước.
Bảo trì phòng ngừa để tránh thiệt hại trong tương lai
Thói quen làm sạch hàng ngày
Lau sạch ngay lập tức bằng chất tẩy rửa trung tính pH để ngăn ngừa nhuộm màu. Tránh các miếng đệm mài mòn, opt cho bọt biển mềm hoặc vải microfiber. Đối với dư lượng khô, ngâm với dung dịch nước ấm và xà phòng trước khi làm sạch.
Các biện pháp bảo vệ
Sử dụng Trivets cho nồi nóng và bảng cắt để ngăn ngừa thiệt hại nhiệt và cơ học. Đặt miếng đệm cảm giác dưới các thiết bị nhỏ để tránh gãi trong quá trình di chuyển. Thường xuyên kiểm tra các cạnh bàn, vì các khu vực này dễ bị chip hơn.
Chăm sóc dài hạn
Lên lịch một sự sạch sẽ chuyên nghiệp và đánh bóng cứ sau 1 năm 2 năm, tùy thuộc vào việc sử dụng. Để bảo trì DIY, áp dụng một loại kem đánh bóng không hấp thụ hàng quý để duy trì ánh sáng. Luôn luôn kiểm tra các sản phẩm làm sạch mới trên một khu vực không rõ ràng trước tiên.
Xử lý tiếp xúc với hóa chất và vết bẩn cứng đầu
Phản ứng ngay lập tức với sự cố tràn
ACRION chống lại hầu hết các hóa chất hộ gia đình, nhưng tiếp xúc kéo dài với các chất khắc nghiệt như tẩy sơn có thể gây đổi màu. Nếu xảy ra sự cố tràn, rửa sạch khu vực bằng nước và lau khô. Đối với các vết bẩn gốc dầu, rắc baking soda, hãy ngồi qua đêm, sau đó chà nhẹ nhàng.
Loại bỏ vết nhuộm
Thuốc nhuộm tóc hoặc dấu mực yêu cầu rượu isopropyl. Làm ẩm một miếng vải với rượu và làm mờ vết bẩn, có thể lan truyền sắc tố. Rửa sạch và khô. Đối với các vết bẩn dai dẳng, lặp lại quá trình hoặc sử dụng miếng bọt biển Magic Eraser với áp suất ánh sáng.
Khôi phục các khu vực đổi màu
Tiếp xúc với ánh nắng mặt trời có thể màu vàng theo thời gian. Để làm sáng, tạo một hỗn hợp hydro peroxide và baking soda, áp dụng cho khu vực bị ảnh hưởng và phủ bằng bọc nhựa trong 24 giờ. Rửa sạch và lặp lại nếu cần thiết, sau đó đánh bóng để khôi phục độ bóng.
Bằng cách làm theo các bước chi tiết này, chủ nhà có thể sửa chữa và duy trì hiệu quả đối diện, đảm bảo họ giữ được vẻ đẹp và chức năng của họ trong nhiều năm. Chăm sóc thường xuyên kết hợp với các kỹ thuật sửa chữa thích hợp sẽ giữ cho các bề mặt của bạn trông có nhà máy.