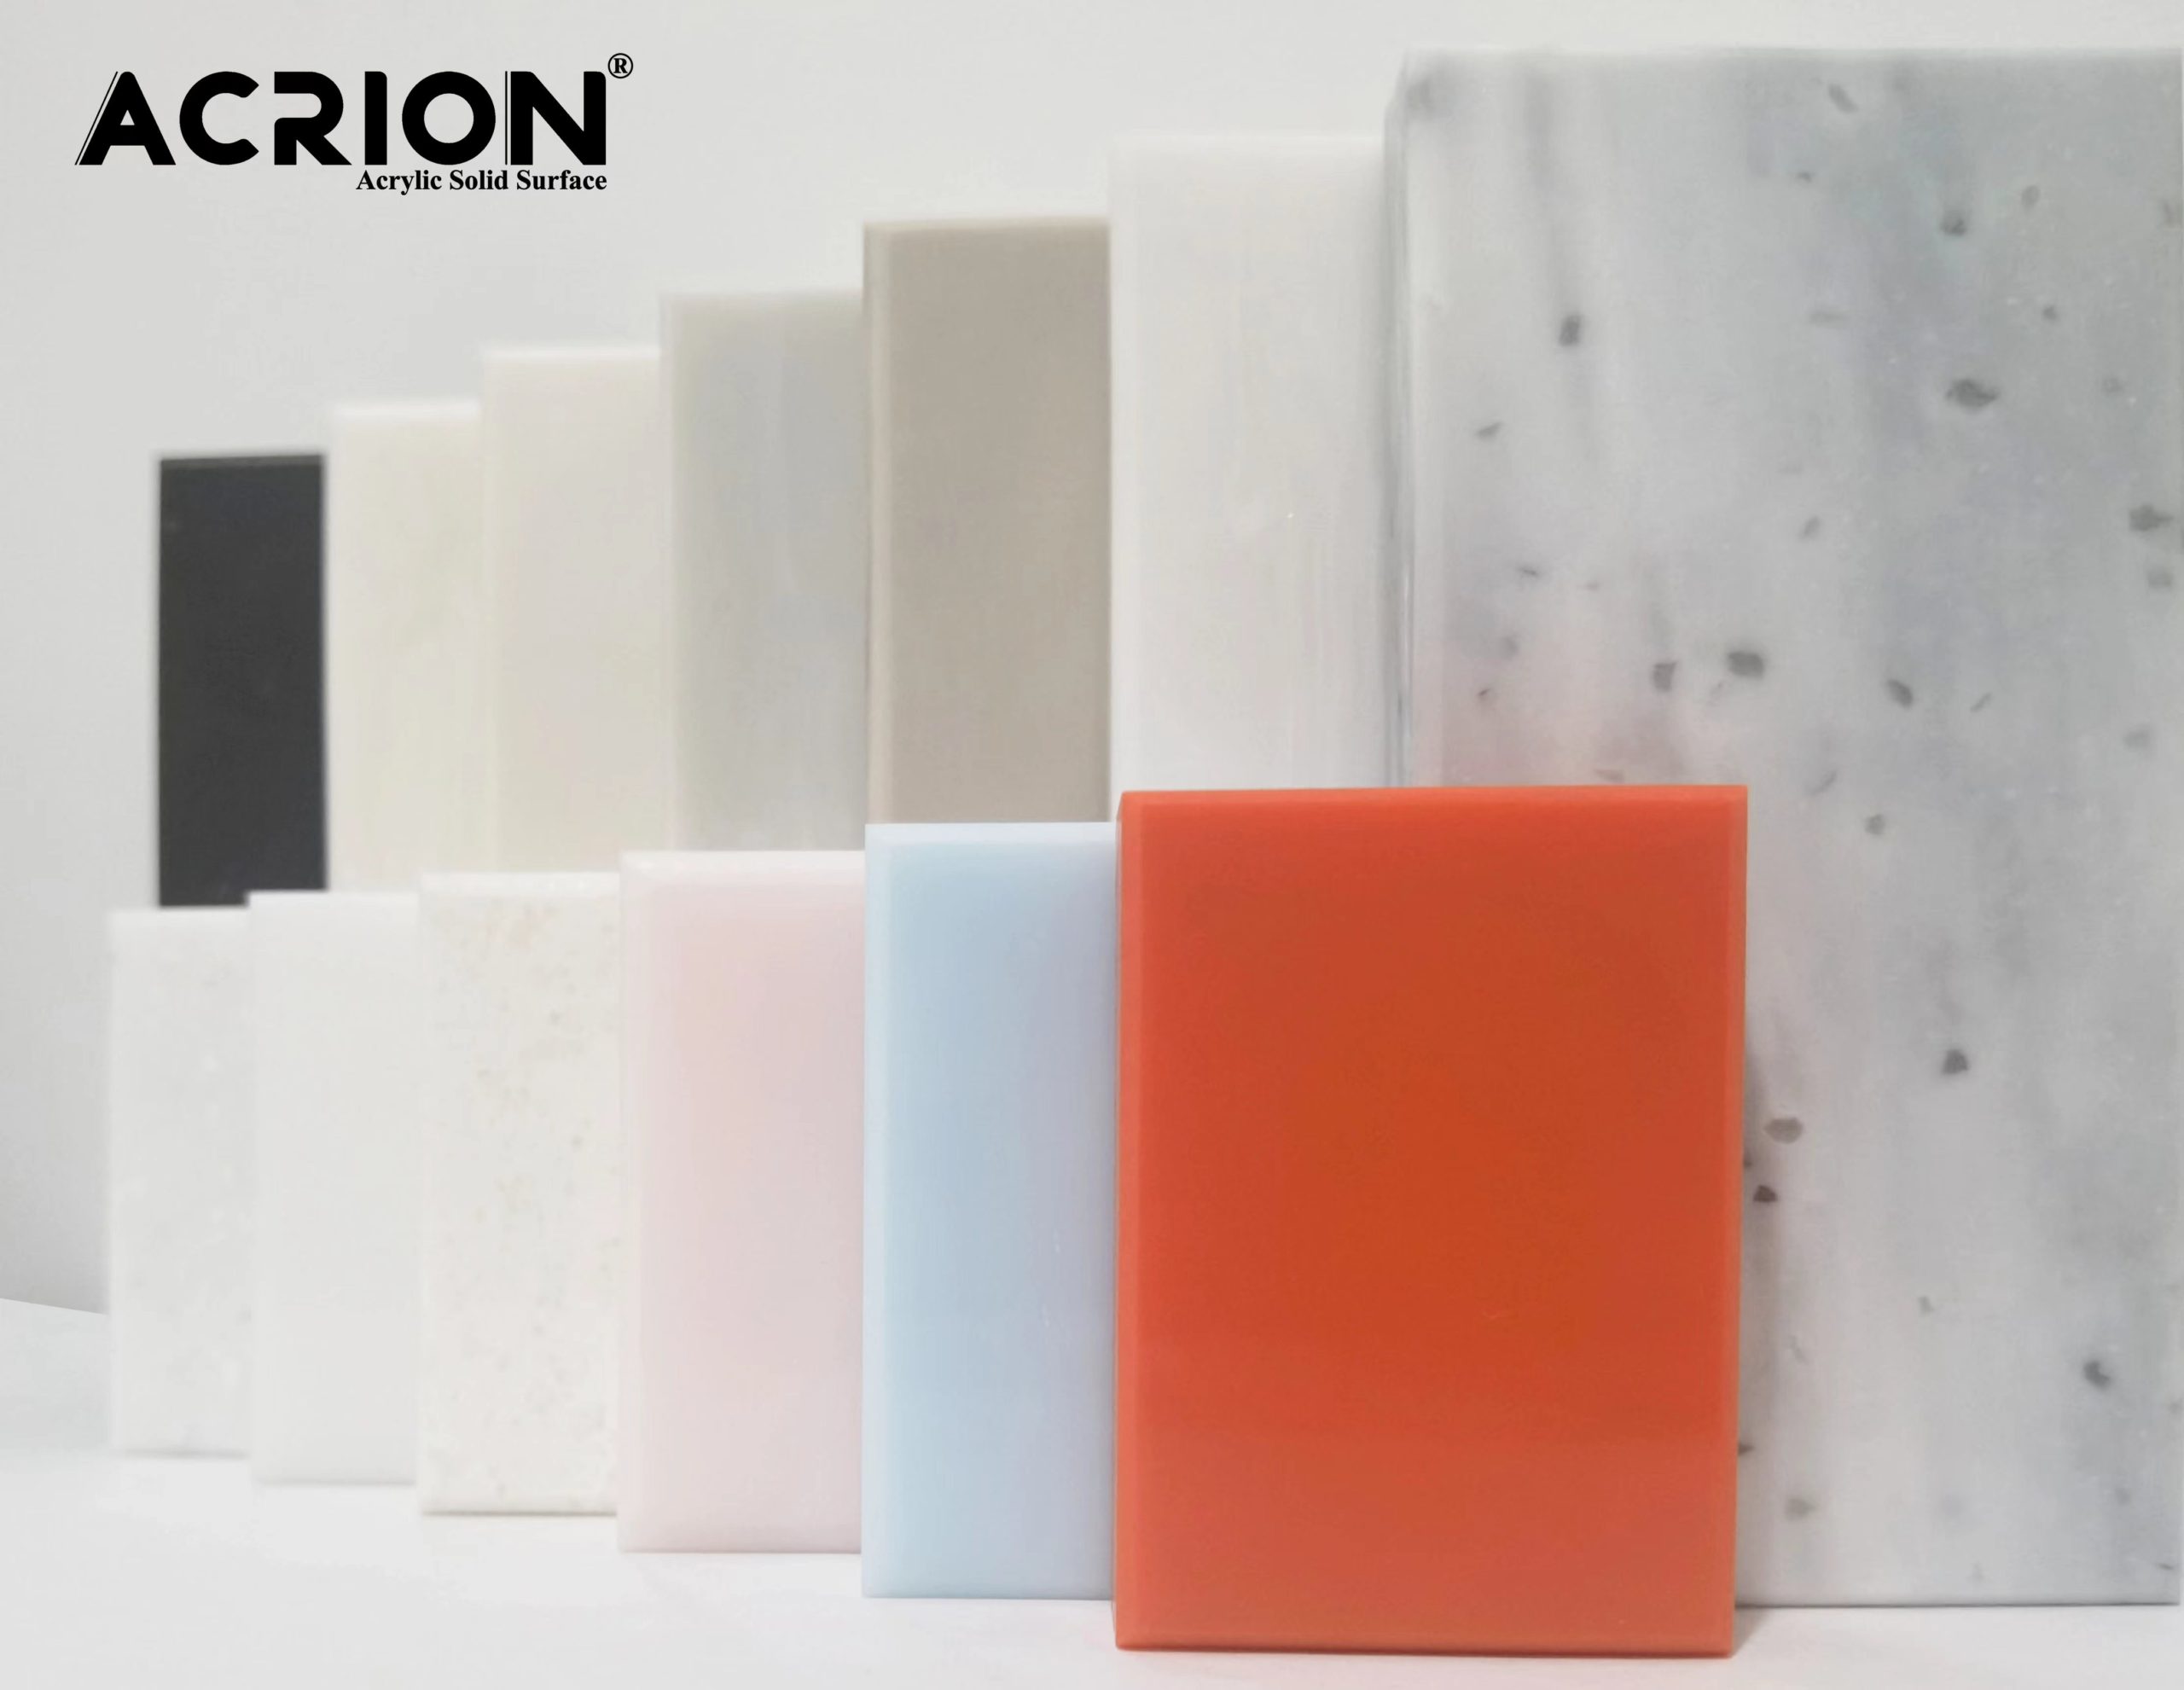
The preparatory work before the installation of Kelinai countertops is directly related to the final effect and service life. It needs to be systematically advanced from three dimensions: basic conditions, materials and tools, and construction planning. The following are the specific key points:
First, confirmation of basic conditions
Acceptance of cabinet structure
Check the flatness and levelness of the cabinet, and the error should be controlled within ±2mm. If the cabinet is tilted or deformed, it is necessary to adjust it in advance with gaskets or leveling feet. Otherwise, stress concentration is likely to occur after the countertop is installed, which may lead to the risk of cracking.
Confirm the load-bearing capacity of the cabinet, especially considering the load capacity after installing sinks and stoves on the countertop to avoid deformation caused by insufficient load-bearing.
Reserved water and electricity lines
Mark the installation positions of equipment such as sinks, stoves and faucets according to the design drawings, and ensure that the interfaces of water and electricity lines (such as the drain pipe of the sink and the power supply of the gas stove) precisely correspond to the positions of the openings on the countertop.
Check the sealing of the circuit interfaces to avoid potential water seepage or electric leakage after installation.
Environmental temperature and humidity control
The installation environment temperature should be maintained between 5℃ and 35℃, and the humidity should be below 80%. Extreme temperature and humidity may cause abnormal curing of the glue or thermal expansion and contraction of the countertop.
If the installation area is an unenclosed space, temporary shielding measures should be taken to prevent the construction period from being affected by the weather.
Second, preparation of materials and tools
Inspection of countertops and accessories
Check whether the size, color and thickness of the countertop are consistent with the design, and inspect the surface for any scratches, cracks or color differences.
Confirm the integrity of the accessories, including the splicing adhesive, support gaskets, sealing strips, fixing clips, etc., to avoid construction interruption due to missing accessories.
Tool adaptability
The cutting tools should be equipped with dedicated saw blades (diamond saw blades or high-density alloy saw blades) to ensure that the cutting edge is smooth and free of burrs.
The grinding tool should be selected with sandpaper that matches the material of the countertop (120 mesh for rough grinding and 800 mesh or above for fine grinding) to avoid surface damage caused by excessive grinding.
Anti-rust screws or special clips should be used to fix the tools to prevent the metal parts from corroding and polluting the countertop after long-term use.
Reserve of auxiliary materials
Prepare masking tape or protective film to cover the non-construction areas of the countertop to prevent contamination by glue or dust.
Equipped with a neutral cleaner and a soft cloth for immediate cleaning of the countertop after construction to prevent residue from solidifying.
Third, construction planning and personnel preparation
Installation process design
Clarify the construction sequence: First, fix the support strips, then hoist the countertop, and finally carry out splicing and edge finishing.
Plan the opening time: The holes for the sink and stove should be cut after the countertop is fixed to avoid opening deviations caused by the movement of the countertop.
Personnel division of labor and training
Designate a specific person to be responsible for key links such as measurement, cutting and splicing to ensure operational accuracy.
Before construction, a technical briefing should be conducted to clarify the usage amount of the splicing adhesive, the curing time, the edge finishing process and other standards.
Formulation of emergency response plans
For possible issues such as dimensional deviations and material damage, prepare spare countertops or repair materials in advance.
Confirm the construction time window to avoid construction interruption caused by the intersection of other processes.
Fourth, key points to note
Countertop protection
When transporting and storing, it should be placed horizontally to avoid hidden damage to the countertop due to uneven force.
During the construction period, it is strictly prohibited to stack heavy objects or step on the countertop to prevent surface indentations.
Usage Specifications for Splicing Adhesive
The splicing adhesive should be mixed in the proportion specified in the manual. The stirring time should be no less than 3 minutes to ensure the curing effect.
A gap of 2-3mm should be reserved at the splicing part. After filling with glue, it should be fixed with fixtures. The curing time should reach more than 24 hours.
Edge finishing process requirements
The edges of the countertop need to be polished to be smooth. The joint between the edge strip and the countertop should be filled with sealant to prevent water vapor from seeping in.
The 45° splicing process should be used at the corner to ensure visual consistency.
Through the above preparations, the installation risks can be effectively reduced, and the overall aesthetic appeal and service life of the countertop can be enhanced. The construction team must strictly follow the procedures and conduct self-inspections of quality after each stage to ensure that the final effect meets expectations.
