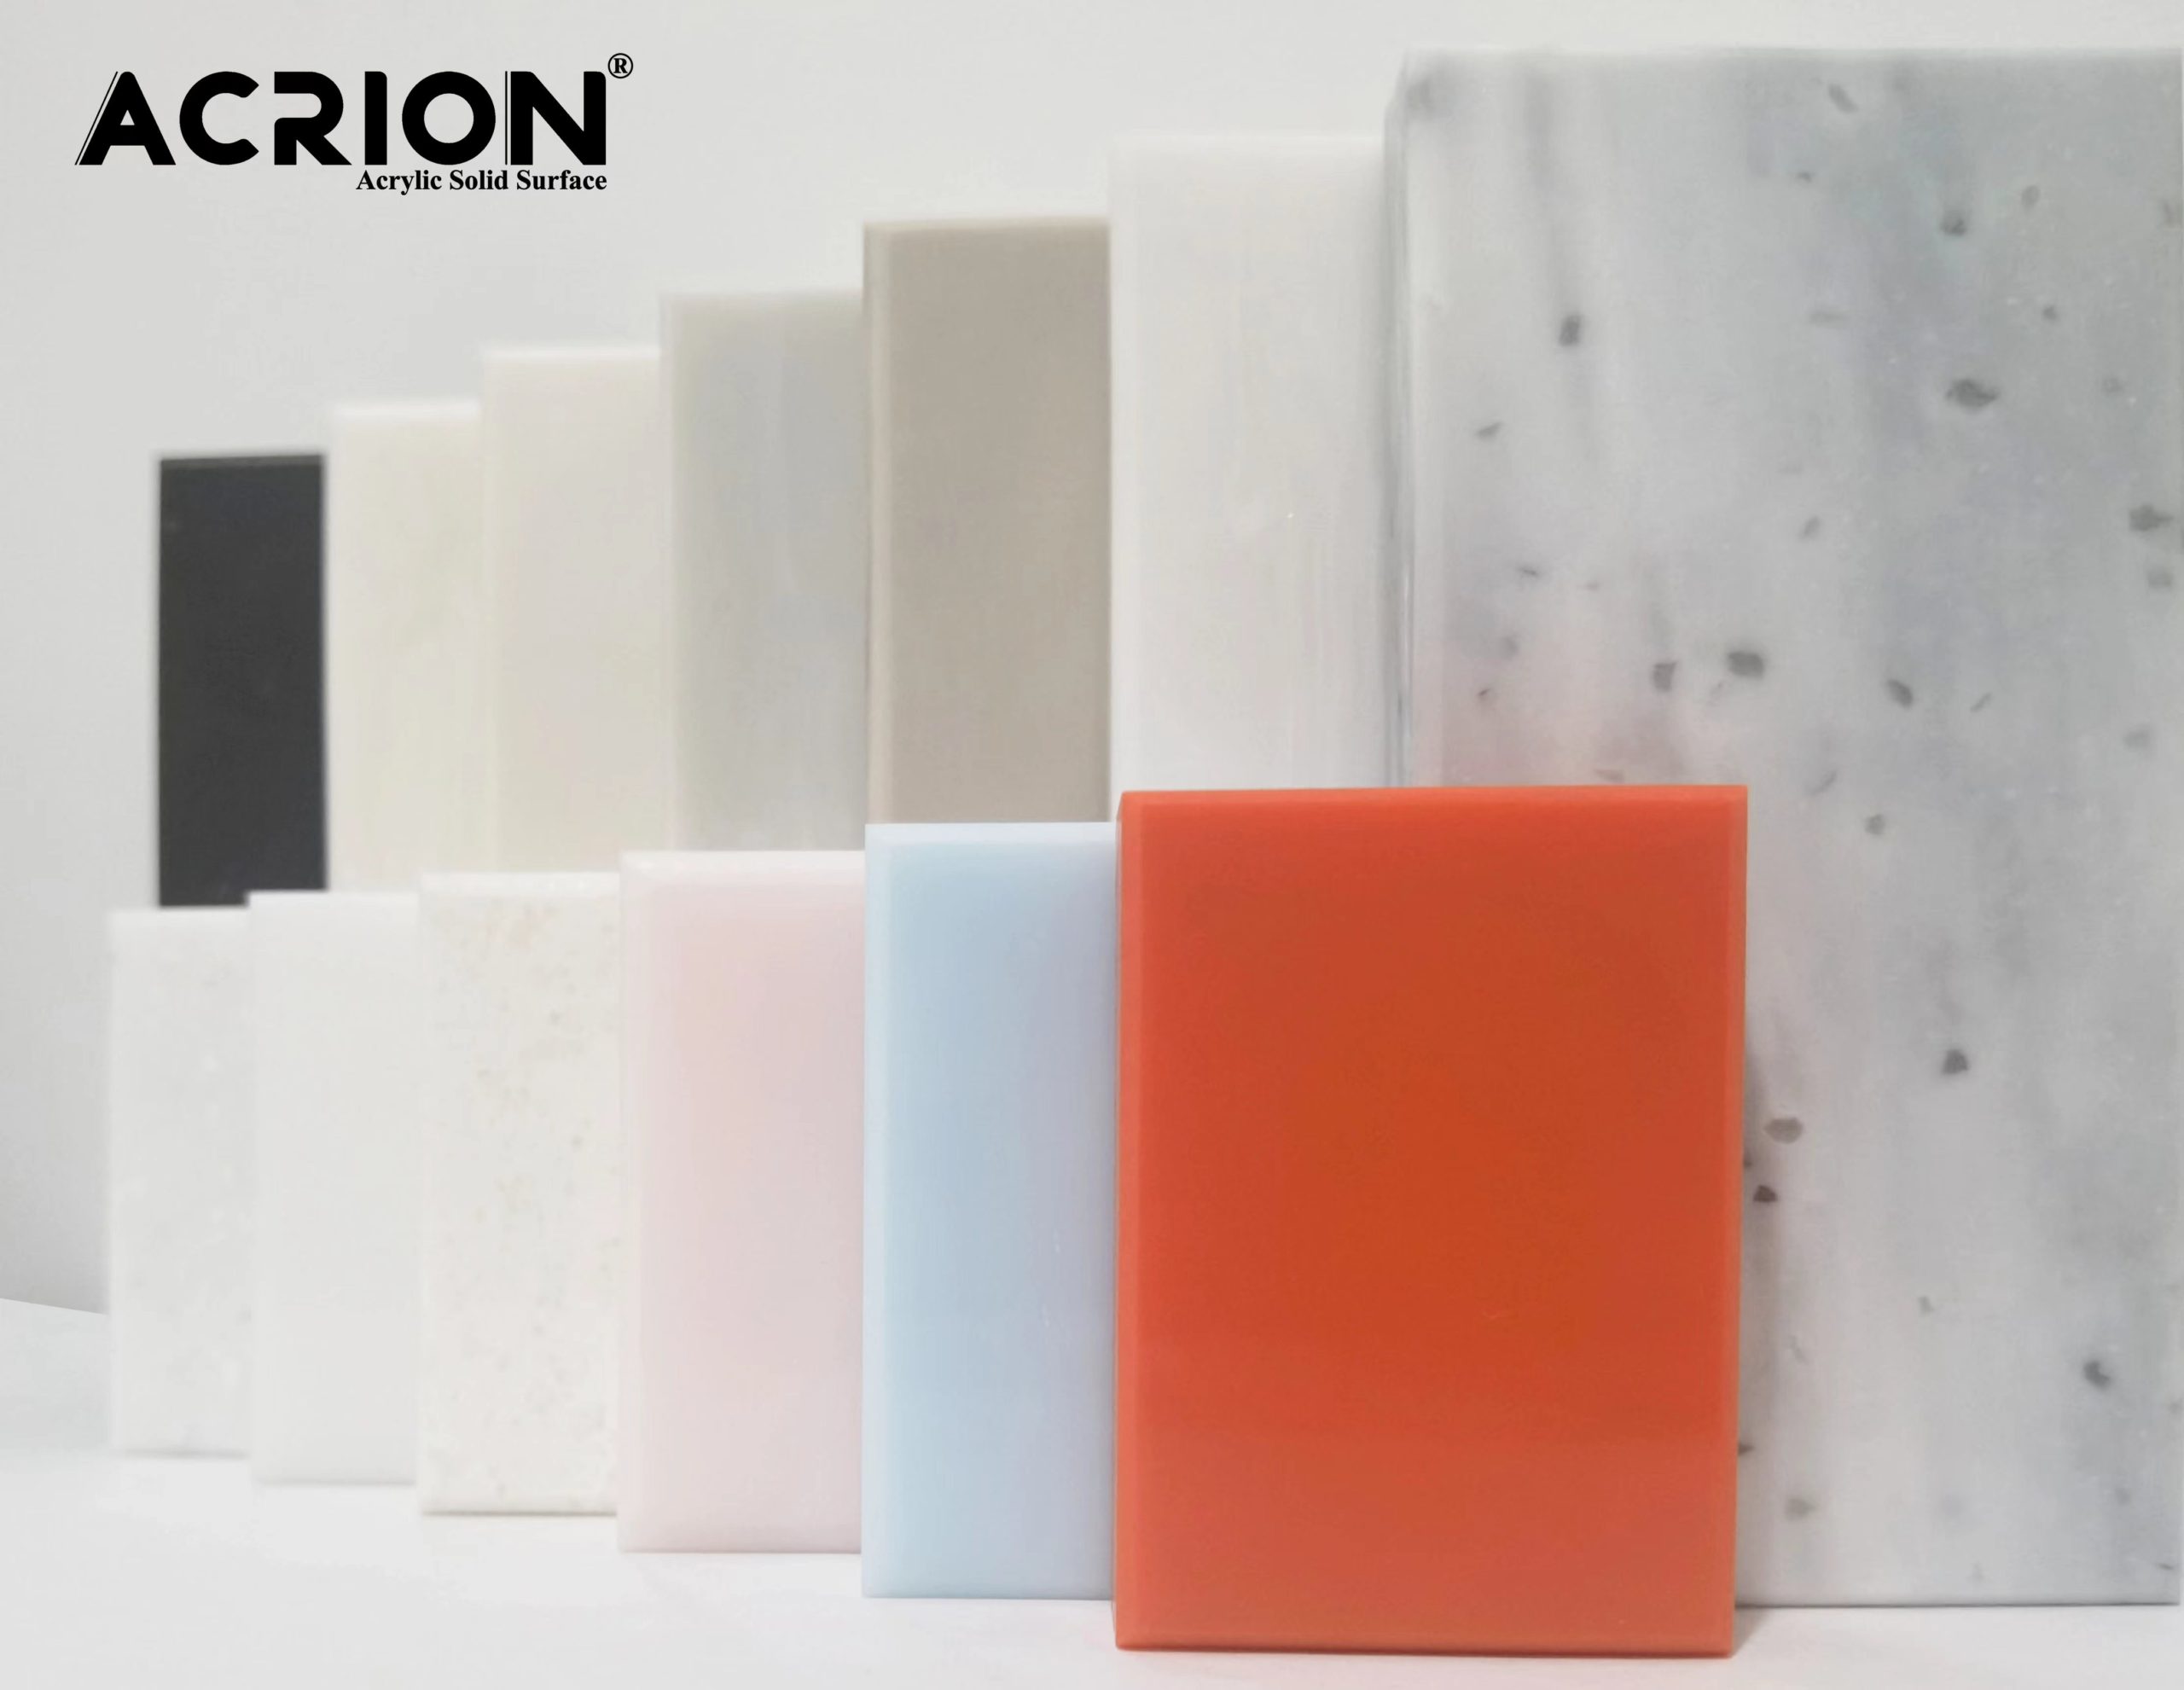
The sealing treatment after the installation of the Kelinai countertop is a key step to ensure its water resistance, stain resistance and aesthetic appeal. Targeted measures should be taken for different joint areas. The following are the specific operation points and precautions:
First, the core objective of sealing treatment
Waterproof and moisture-proof: Prevent water vapor from seeping into the joints between the countertop and the wall, cabinet or sink, avoiding expansion, deformation or mold.
Anti-stain and antibacterial: Prevents stains and bacteria from accumulating in crevices, extending the service life of the countertop.
Aesthetics and durability: The sealant should be in harmony with the countertop color and have the properties of UV resistance and anti-aging.
Second, sealing methods for different joint parts
The joint between the countertop and the wall
Operation steps:
Clean the dust and oil stains at the joints to ensure they are dry and free of impurities.
Evenly fill the joint with neutral anti-mold silicone gel (width 3-5mm, depth ≥2mm), and the gel should be continuous without any breaks.
Use a scraper or a damp cloth to smooth out the excess colloid, ensuring that the surface of the glue joint is smooth and slightly below the edge of the countertop (to prevent water accumulation).
Notes:
Silicone rubber should be selected from products with strong weather resistance and high anti-mold grade (such as anti-mold glue that complies with the GB/T 1741 standard).
Avoid construction in damp or low-temperature environments, otherwise it may affect the curing effect.
2. Seams between the countertop and the sink (undermount basin)
Operation steps:
A gap of 2-3mm should be reserved between the edge of the sink and the countertop to facilitate the filling of sealant.
Fill the gaps with transparent or semi-transparent silicone to ensure that the gel completely covers the contact surface between the metal edge and the countertop.
Press the colloid firmly with your fingers or tools to avoid leaving any air bubbles.
Notes:
The undermount basin should be fixed in advance with special clips or brackets to ensure stable load-bearing before sealing.
The sealant should have water resistance and flexibility to cope with the daily vibration of the sink.
3. Countertop joint seams (when long countertops are installed in sections)
Operation steps:
The countertops on both sides of the joint seam should be aligned, and the gap width should be no more than 1mm.
Fill with high-strength epoxy resin adhesive of the same color series as the countertop, and after curing, sand it smooth.
Cover the outside with an additional layer of anti-mold silicone to enhance water resistance.
Notes:
The joint seams should avoid the open areas of washbasins, stoves, etc., to prevent cracking caused by stress concentration.
Epoxy resin adhesive should be mixed in proportion, and the curing time should comply with the product instructions (usually more than 24 hours).
4. Seam between the countertop and the rear water barrier strip
Operation steps:
Fill the joint between the water-blocking strip and the countertop with silicone to ensure that the adhesive covers the entire contact surface.
The corners of the water-blocking strips should be filled with colloid to form an arc shape to prevent dirt from accumulating in the right-angle gaps.
Notes:
The water-blocking strip should be firmly fixed in advance to prevent the colloid from cracking due to loosening after sealing.
Third, the selection criteria for sealing materials
Weather resistance: It needs to adapt to the high-temperature and high-humidity environment in the kitchen and resist ultraviolet aging.
Flexibility: After the colloid solidifies, it needs to maintain a certain degree of elasticity to cope with the thermal expansion and contraction of the countertop.
Environmental friendliness: Prioritize low-VOC and odorless silicone or epoxy resin adhesives.
Color matching: The color of the sealant should be close to that of the countertop to reduce visual abruptness.
Fourth, maintenance and inspection after sealing
Curing time:
Silicone usually takes 24 hours to cure, while epoxy resin adhesive requires more than 48 hours.
During the curing period, avoid touching or getting wet to prevent the colloid from deforming.
Daily maintenance:
Regularly check whether the glue joints are cracked or moldy. If any problems are found, replenish the glue in time.
Avoid using sharp tools to scrape the glue seams when cleaning.
Long-term monitoring
Check the countertop seams for water seepage or discoloration every six months, especially the edges of the sink and the joints.
Fifth, Common Problems and Solutions
The glue joint is moldy
Reason: Insufficient anti-mold grade of the sealant or excessively high environmental humidity.
Solution: After removing the old glue, refill it with anti-mold silicone and keep the joint well-ventilated and dry.
Cracking of the adhesive joint
Reason: The thermal expansion and contraction of the countertop cause the adhesive to tear, or the adhesive was not filled in the gaps during construction.
Solution: After cleaning the cracked area, refill it with sealant that has better elasticity.
Colloid residue
Reason: The colloid overflowed during construction and was not cleaned up in time.
Solution: Wipe the remaining colloid with a special cleaner (such as alcohol) to avoid scratching the countertop.
