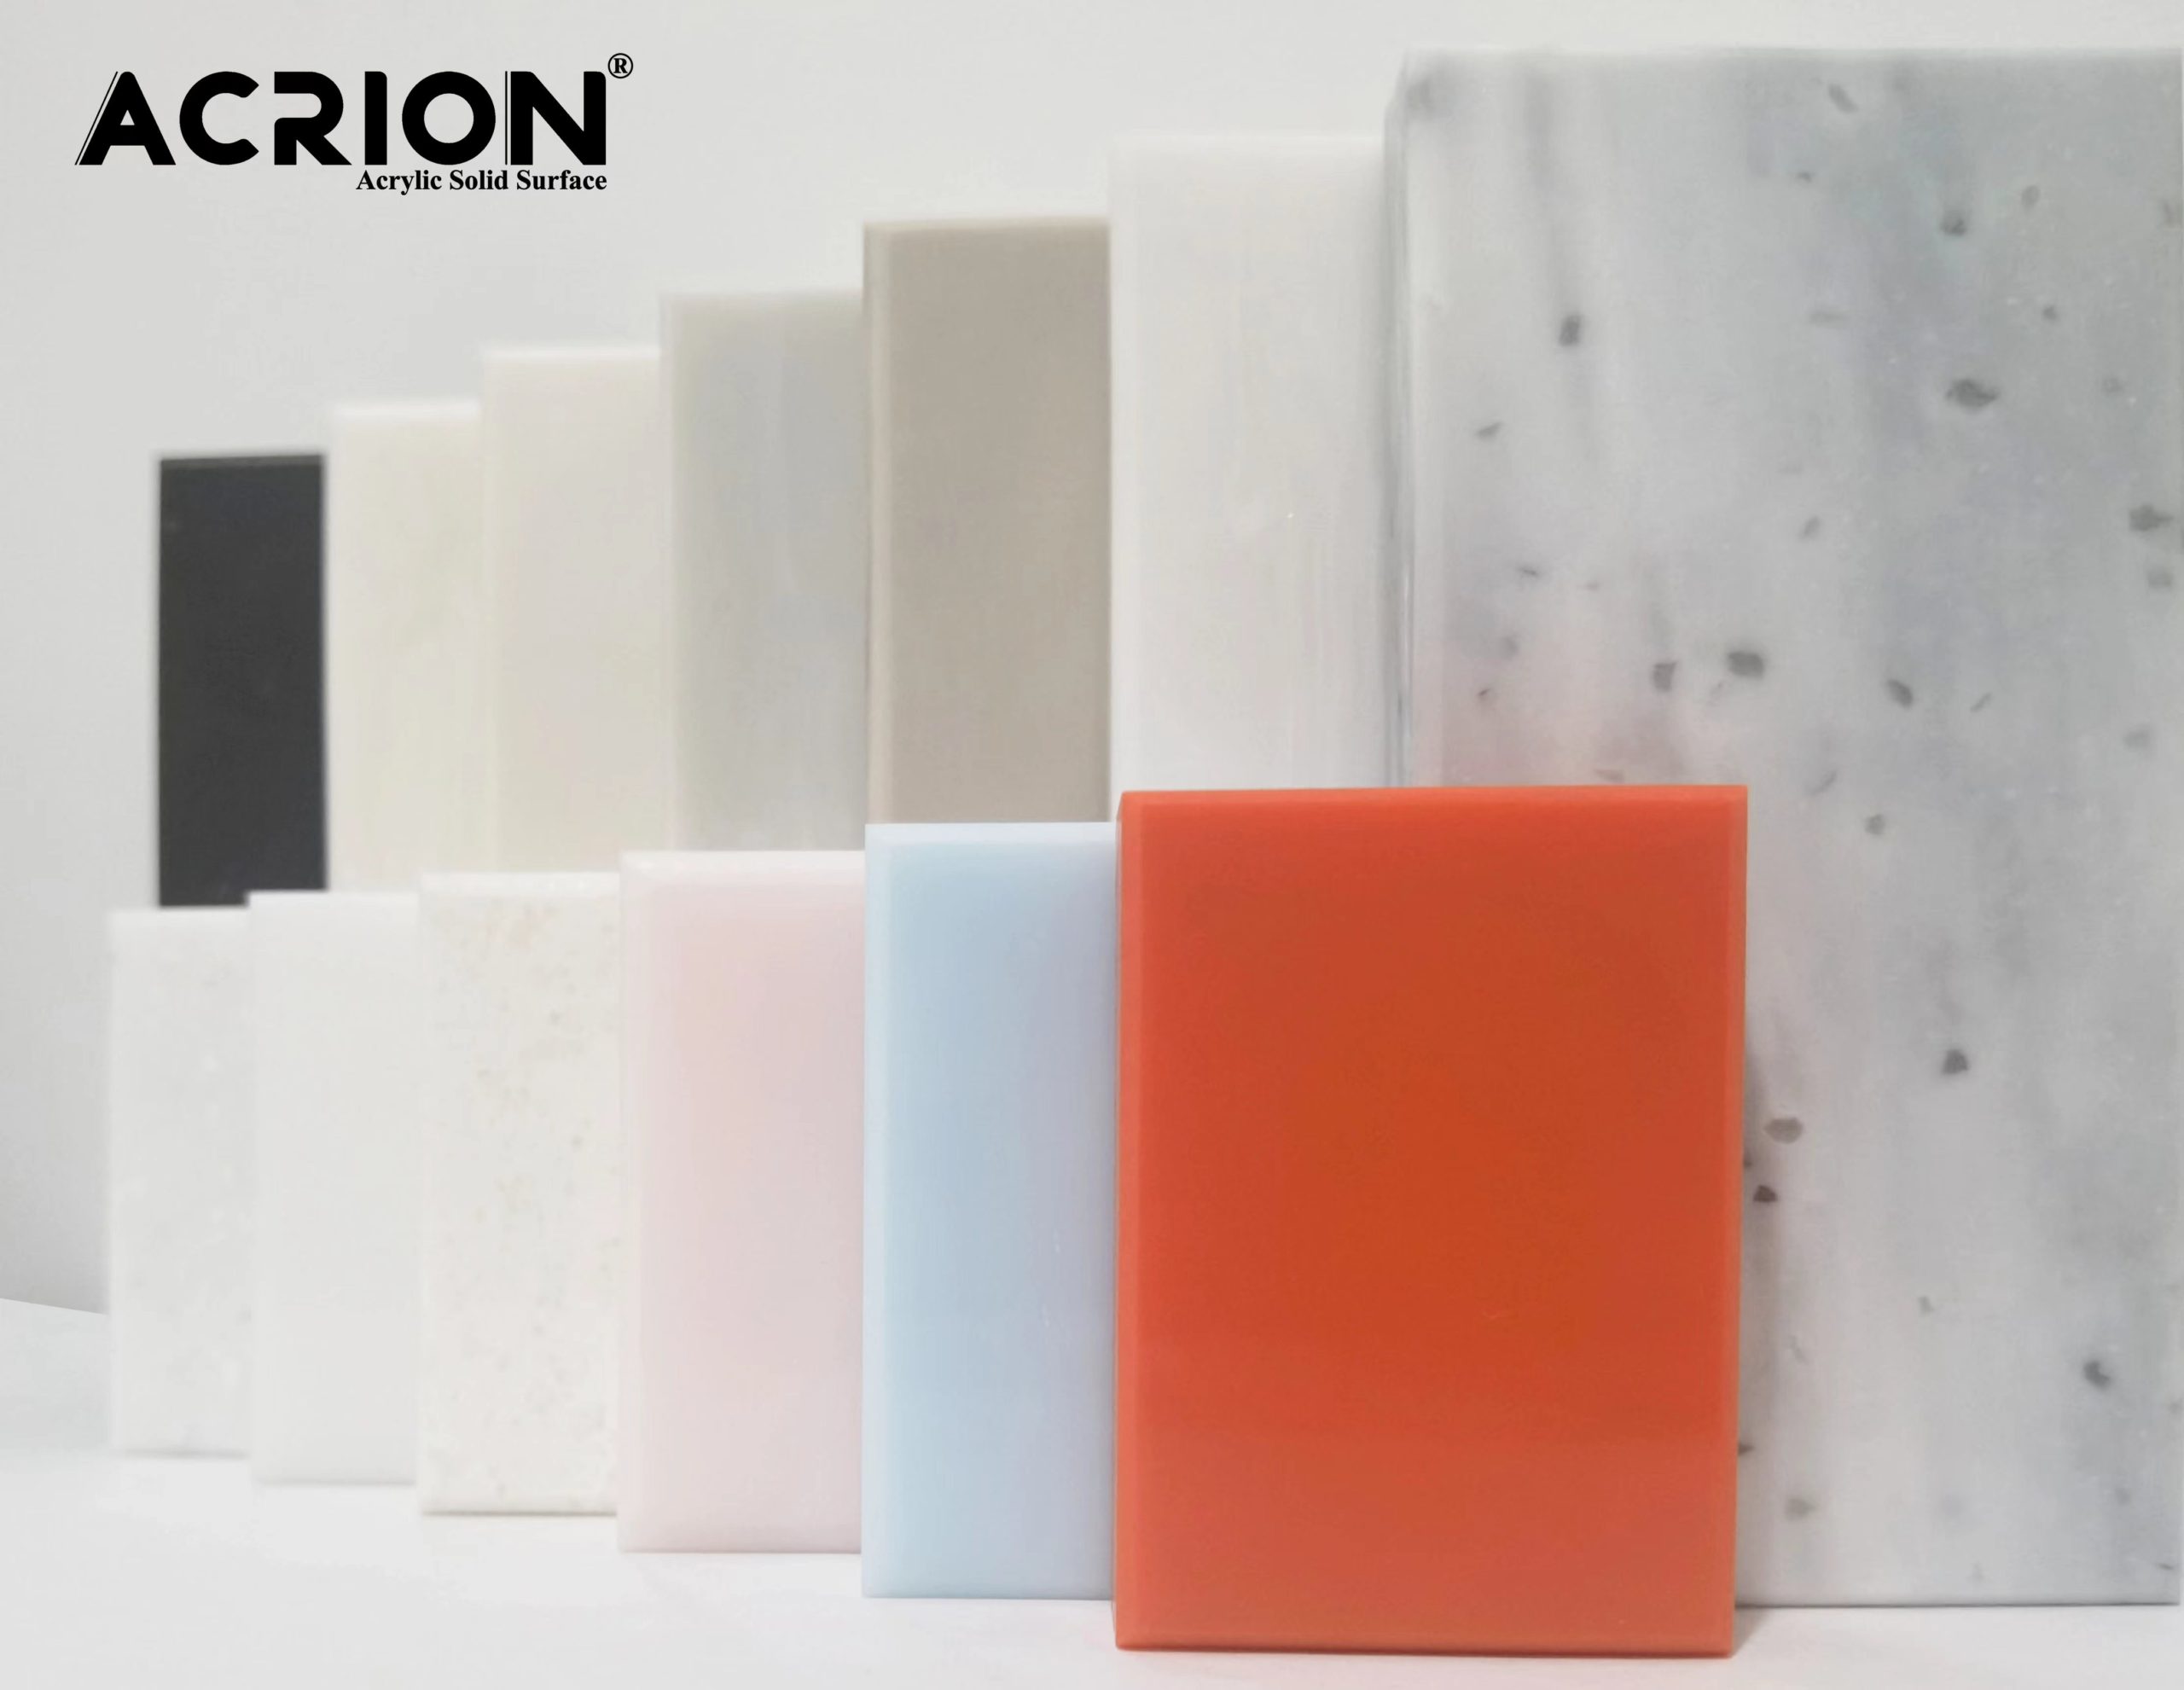
The grinding and polishing of Kelinai countertops need to be carried out through multi-stage processes to enhance the surface smoothness and gloss, while avoiding material damage. The following are the specific operation methods and precautions:
First, the grinding and polishing process
Rough grinding stage (removing cutting marks)
Tool selection: Use sandpaper or diamond grinding discs with a grit size of 120-240 mesh, in conjunction with Angle grinders or handheld grinders.
Key points of operation:
Grind evenly along the edge of the tabletop or the cutting surface to remove burrs and unevenness left by the cutting.
When grinding, it is necessary to maintain uniform pressure to avoid local overheating causing material deformation.
Regularly clean the dust generated during grinding to prevent scratches from remaining.
Medium grinding stage (refining the surface)
Tool selection: Replace with 400-600 mesh sandpaper or grinding discs and continue grinding until there are no obvious scratches on the surface.
Key points of operation:
The grinding direction should be perpendicular to the rough grinding stage to eliminate the scratches from the previous stage.
The corners or arc-shaped areas of the countertop need to be manually polished to ensure a smooth transition at the edges.
Fine grinding stage (eliminating micro-marks)
Tool selection: Use fine sandpaper or sponge grinding blocks with a mesh size of 800-1200, in combination with a low-speed grinding machine.
Key points of operation:
When grinding, apply force gently to avoid excessive wear on the material.
Focus on handling the fine scratches on the surface and edges of the countertop to ensure its flatness.
Polishing stage (enhancing glossiness)
Tool selection:
Dry polishing: Use a wool polishing wheel in combination with polishing paste (particle size 1500-3000 mesh).
Wet polishing: Use sponge polishing pads in combination with water-based polishing liquid to reduce dust generation.
Key points of operation:
When polishing, it is necessary to ensure that the polishing wheel or pad is in full contact with the surface of the countertop and moves evenly.
Wet polishing requires timely cleaning of water stains to prevent water marks from remaining.
Polishing multiple times can gradually enhance the glossiness until a mirror-like effect is achieved.
Second, key points to note
Dust control
During the grinding process, dust masks and goggles should be worn to avoid inhaling or splashing dust and injuring the eyes.
Operate in a well-ventilated environment or use an industrial vacuum cleaner connected to the grinding equipment to collect dust in real time.
Temperature management
When grinding and polishing, the speed of the tool and the applied force should be controlled to avoid local overheating that may cause the material to soften or deform.
Intermittent operation is possible, or the countertop can be locally cooled (such as by wiping with a damp cloth).
Cross treatment of scratches
The grinding direction of each stage should be perpendicular to the previous stage to ensure that the scratches are completely covered.
During the fine grinding and polishing stages, the grit size of the sandpaper should be gradually reduced to avoid skipping grades and leaving scratch residues.
Edge and corner treatment
The edges and corners of the countertop need to be hand-sanded, and finely processed with small sandpaper or grinding blocks.
When polishing, the edges need to be strengthened a second time to ensure that the glossiness is consistent with the surface.
Cleaning and Inspection
After each stage is completed, the countertop should be wiped with clean water or detergent to check the surface flatness and any remaining scratches.
After the final polishing, it should be wiped clean with a soft cloth to avoid any residue of polishing paste.
Third, Common problems and solutions
The surface is rough after grinding
Reason: Improper selection of sandpaper grit size or uneven grinding pressure.
Solution: Replace with finer sandpaper, re-sand and maintain uniform force application.
The glossiness is insufficient after polishing
Reason: Insufficient particle size of the polishing paste or too short polishing time.
Solution: Replace the polishing paste with a higher particle size and extend the polishing time.
Chipping appears at the edge of the countertop
Reason: Uneven force application during cutting or grinding.
Solution: Use an edge trimmer or manually grind and repair the edges, then re-polish.
Fourth, suggestions for tool and material selection
Grinding tools
It is recommended to use an Angle grinder with adjustable speed or a handheld grinding machine, which is suitable for sandpaper and grinding discs of different particle sizes.
When grinding by hand, rubber sandpaper blocks or sponge grinding blocks can be used to facilitate the control of force.
Polishing tool
When dry polishing, choose a wool polishing wheel; when wet polishing, choose a sponge polishing pad.
Polishing paste should be formulated in either water-based or oil-based forms to avoid corroding the countertop.
Auxiliary materials
The cleaning agent should be a neutral formula to avoid damaging the countertop surface.
