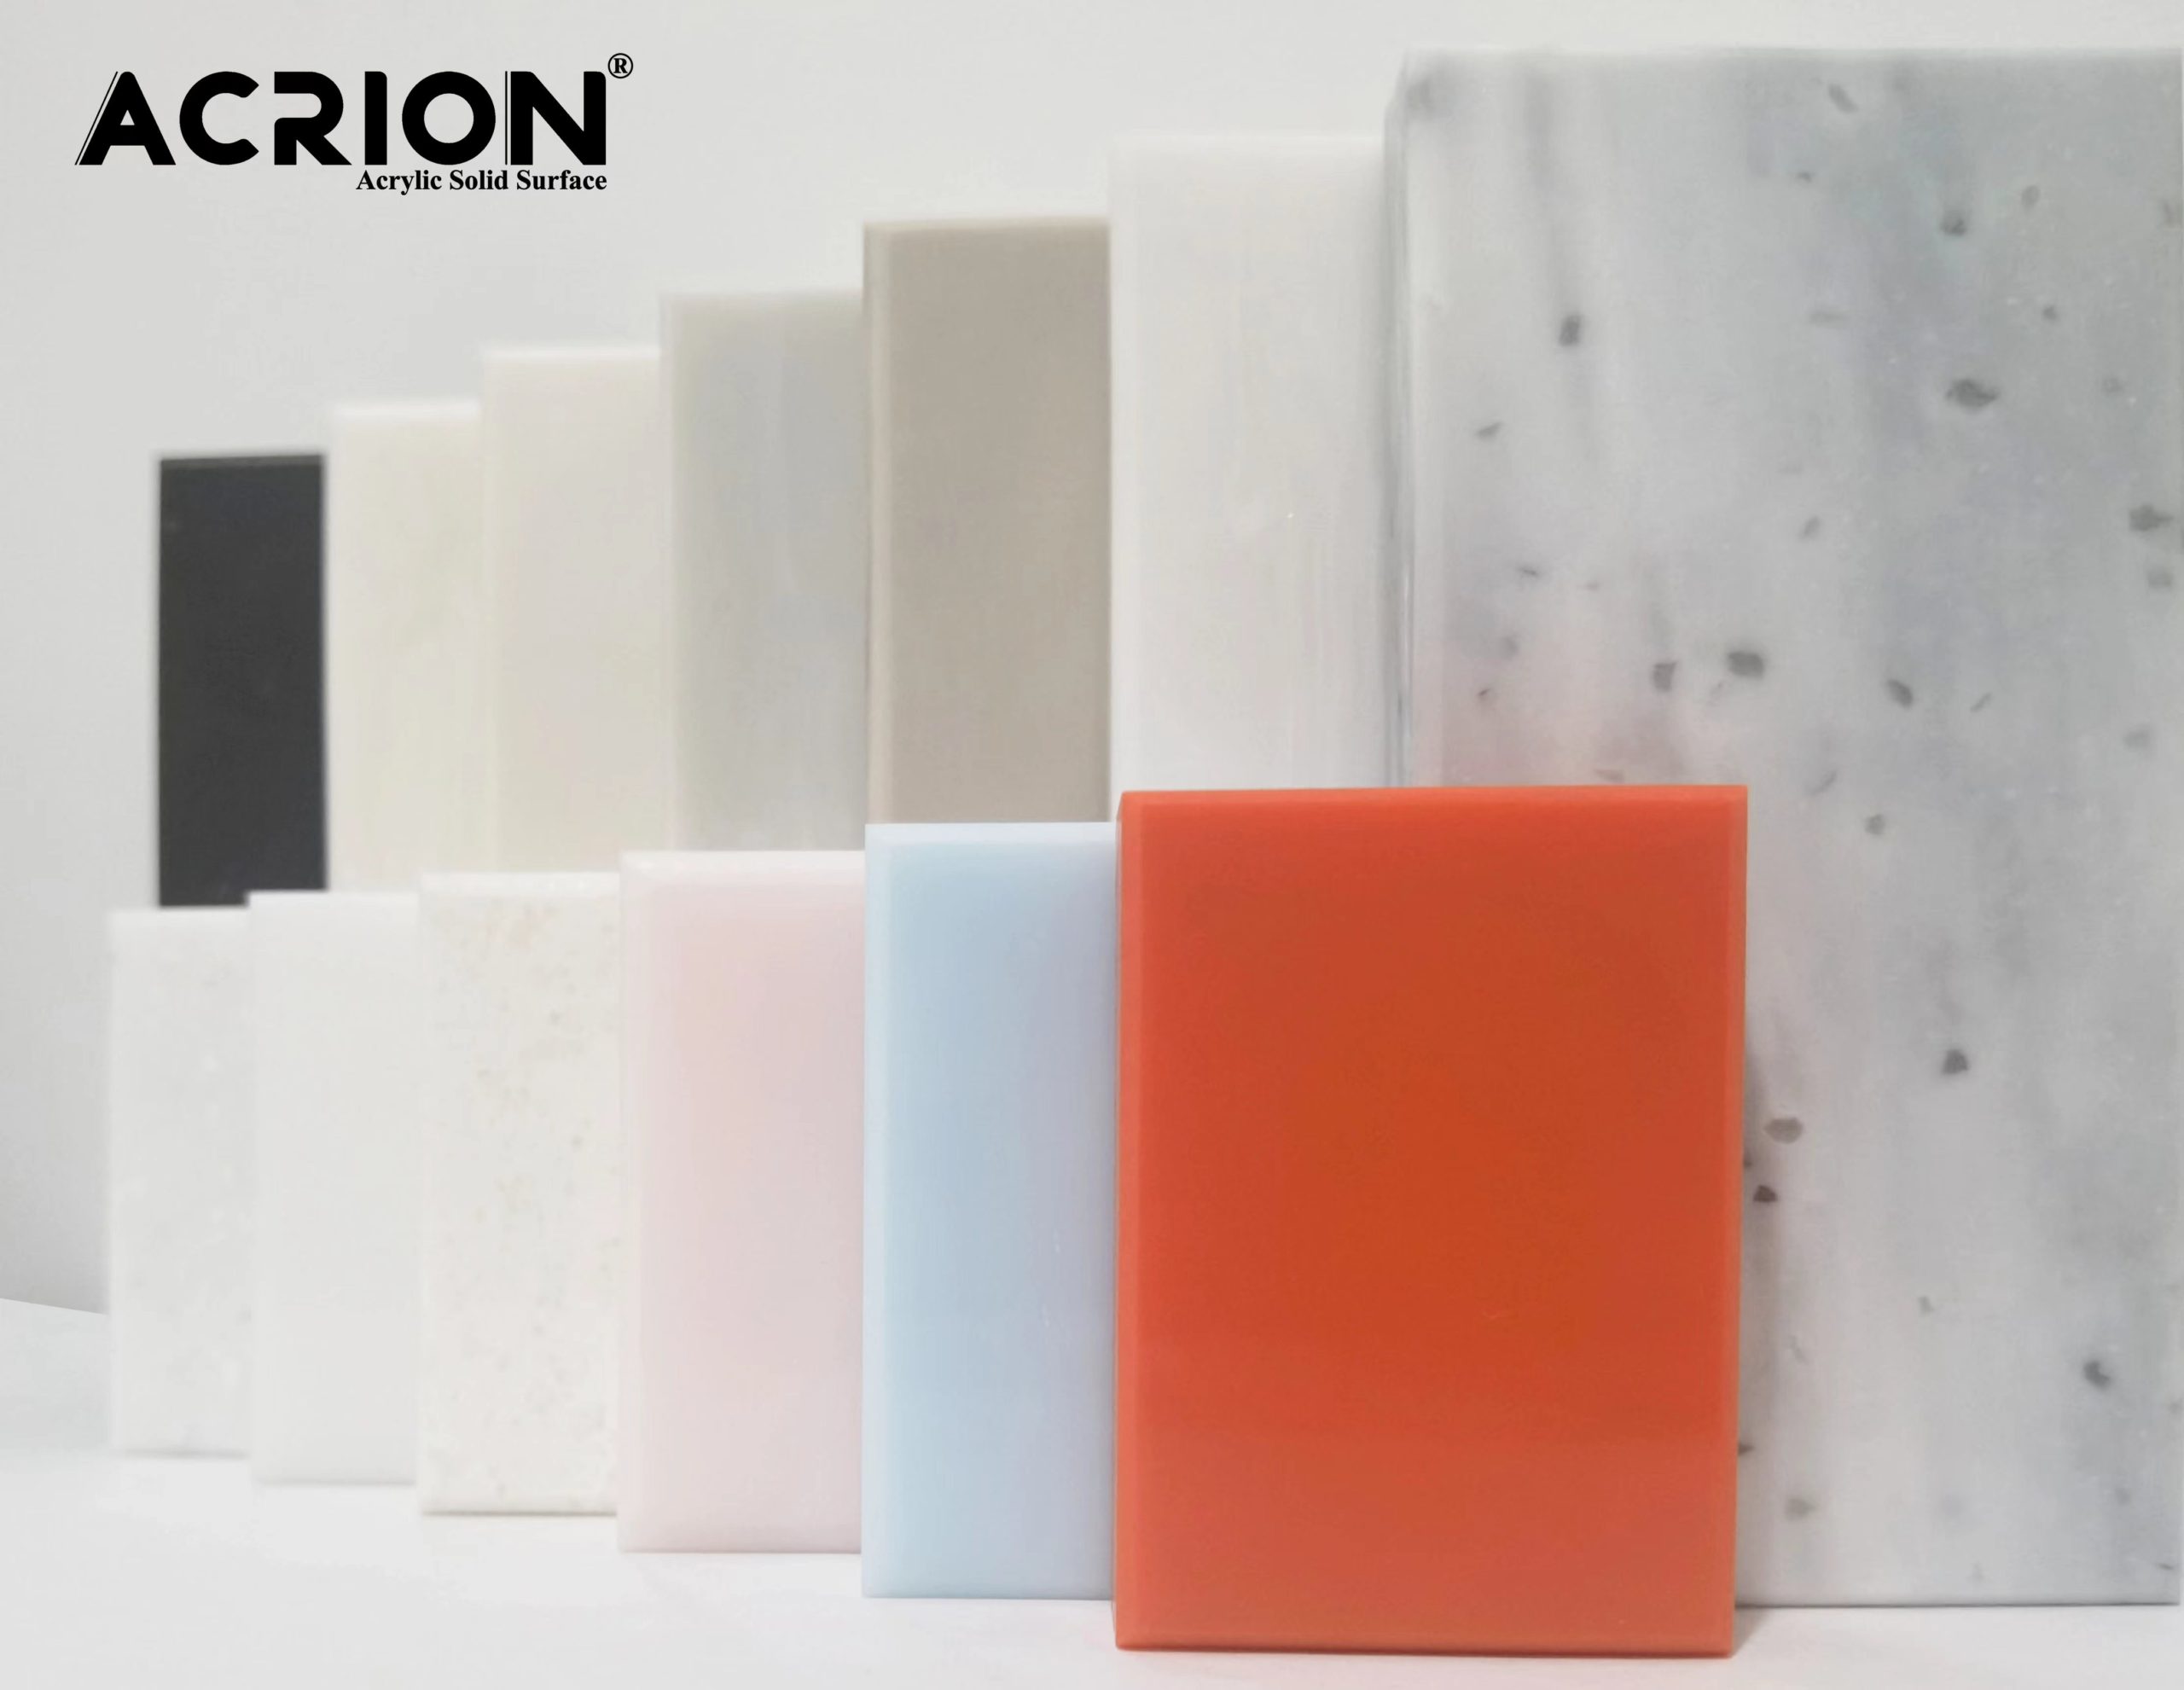
The installation of Kelinai countertops must follow standardized procedures. The following are the specific steps and precautions:
First, preliminary preparation and measurement
Review of spatial dimensions
Accurately measure the length, width and height of the installation area, with particular attention to the verticality of the wall and the flatness of the ground. If the wall is tilted, it needs to be leveled in advance to avoid gaps or uneven force distribution on the countertop after installation.
Confirm the positions of the water and electricity lines to ensure that the interfaces of the sink, faucet, drain pipe, etc. exactly correspond to the openings on the countertop. The error should be controlled within ±2mm.
Countertop size calibration
Recheck the countertop dimensions based on the measurement data, with particular attention paid to key opening positions such as the basin hole and the stove hole. If the undermount basin design is adopted, the countertop needs to be processed in advance and an installation slot reserved.
Second, countertop installation and fixation
Construction of supporting structure
Lay anti-vibration silicone strips or rubber pads on the top of the cabinet to reduce the friction and vibration between the countertop and the cabinet. For long countertops (such as those exceeding 1.5 meters), a support frame should be added at the middle position to prevent sagging and deformation after long-term use.
Countertop hoisting and positioning
At least two people should work together to place the countertop steadily on the cabinet, ensuring that the edge of the countertop aligns with the edge of the cabinet. Use a laser level to check the levelness of the countertop, and the error should be less than 1mm/m.
Fixation and edge finishing
Evenly apply the special glue (such as polyurethane glue) on the contact surface between the countertop and the cabinet body. After pasting, fix it with a fixture for 24 hours. The joint between the countertop and the wall should be filled with anti-mold sealant. The width of the sealant joint should be controlled at 3-5mm to ensure the sealing performance.
Third, installation of the washbasin and accessories
Installation of the undermount basin
Insert the undermount basin into the reserved slot and fix it with a metal bracket or special clips. The bracket needs to be firmly connected to the cabinet structure to ensure the load-bearing capacity of the washbasin.
Installation of faucets and drainage components
Install the faucet according to the design drawings and ensure that there is no leakage at the interfaces of the cold and hot water pipes. The drainage pipe should adopt an S-shaped trap design to prevent the backflow of unpleasant odors.
Edge finishing and reinforcement
The joint between the edge of the washbasin and the countertop should be filled with transparent silicone, and the joint should be smooth without bubbles. For areas with concentrated force such as the four corners of the washbasin, fiberglass cloth or metal corner codes should be used for reinforcement.
Fourth, acceptance and commissioning
Visual inspection
Check the surface of the countertop for any scratches, bumps or color differences, and ensure that there are no gaps at the splicing parts. The joint between the edge of the washbasin and the countertop should be smooth and the width of the glue joint should be uniform.
Functional test
Turn on the tap to test the drainage speed and make sure there is no blockage or leakage. Check the load-bearing capacity of the countertop. Place heavy objects (such as 50kg sandbags) continuously for 24 hours and observe whether the countertop deforms or cracks.
Detail adjustment
Adjust the height and Angle of the faucet to ensure that the water does not splash out. For the design of the countertop basin, it is necessary to check whether the gap between the countertop and the basin is uniform. If necessary, fill the gap with sealant.
Fifth, suggestions for later maintenance
Daily cleaning
Wipe the countertop with a neutral cleaner and a soft cloth. Avoid using steel wool or acidic cleaners. The glue seams on the edges of the washbasin need to be inspected regularly. If any aging or peeling is found, glue should be replenished in time.
Regular inspection
Check every six months whether the countertop support structure is loose and whether there is any leakage in the drainage pipe. For long countertops, it is necessary to focus on inspecting the load-bearing capacity of the middle support area.
